Colors of Iceland – jouer avec les couleurs

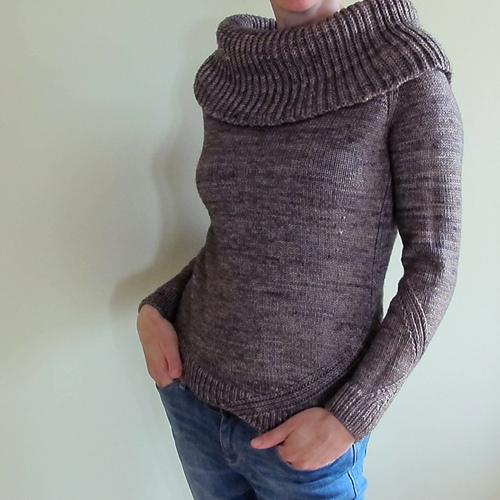
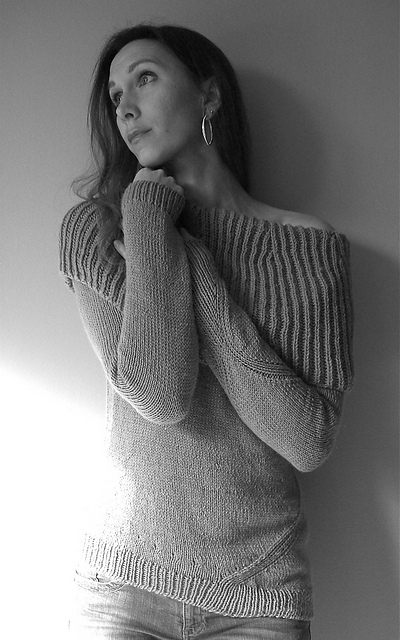
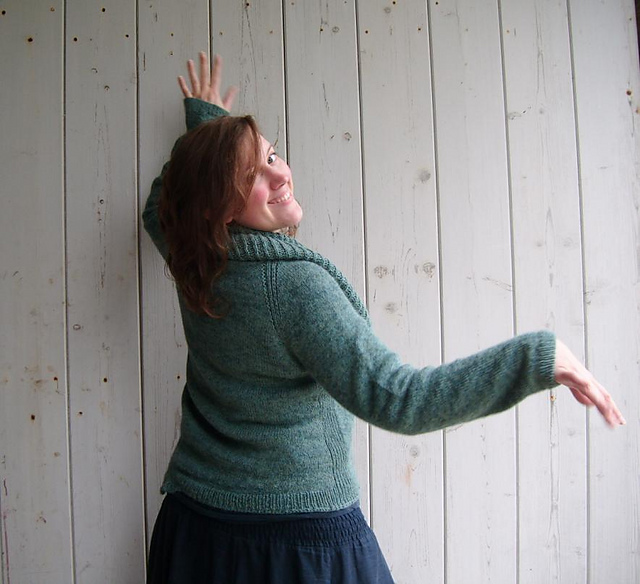
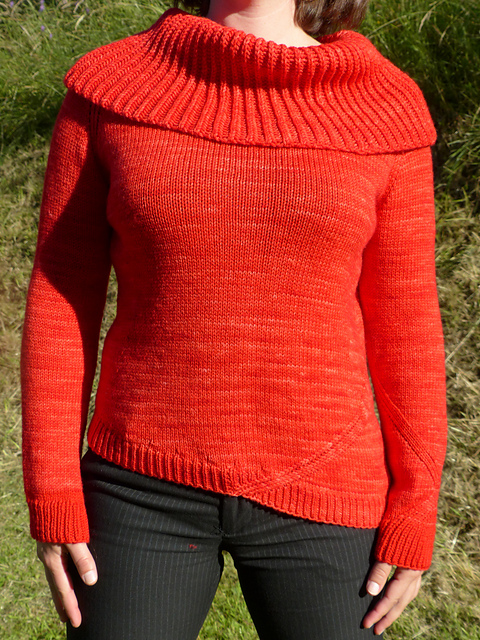
Envie d’un pull doudou, de jouer avec les couleurs et avec le point brioche ?
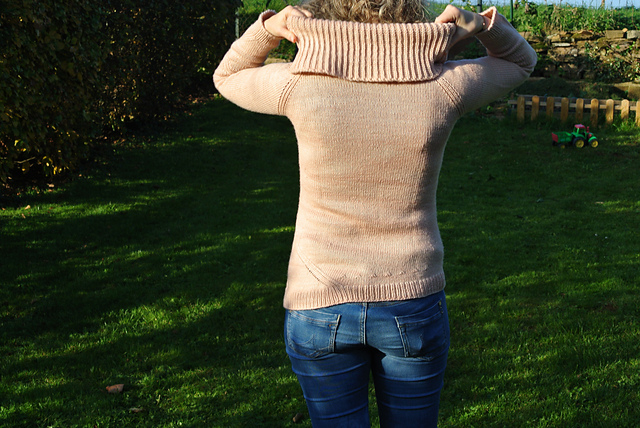
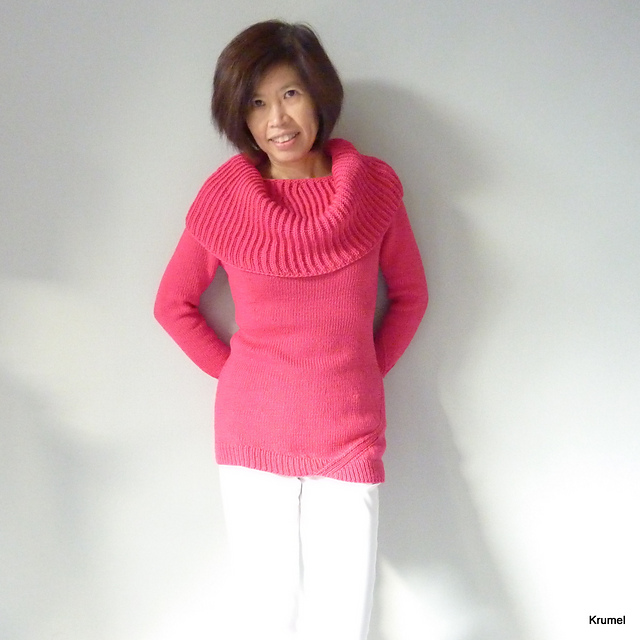
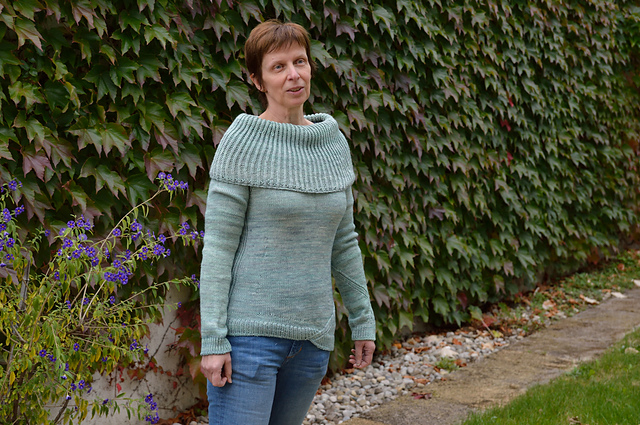
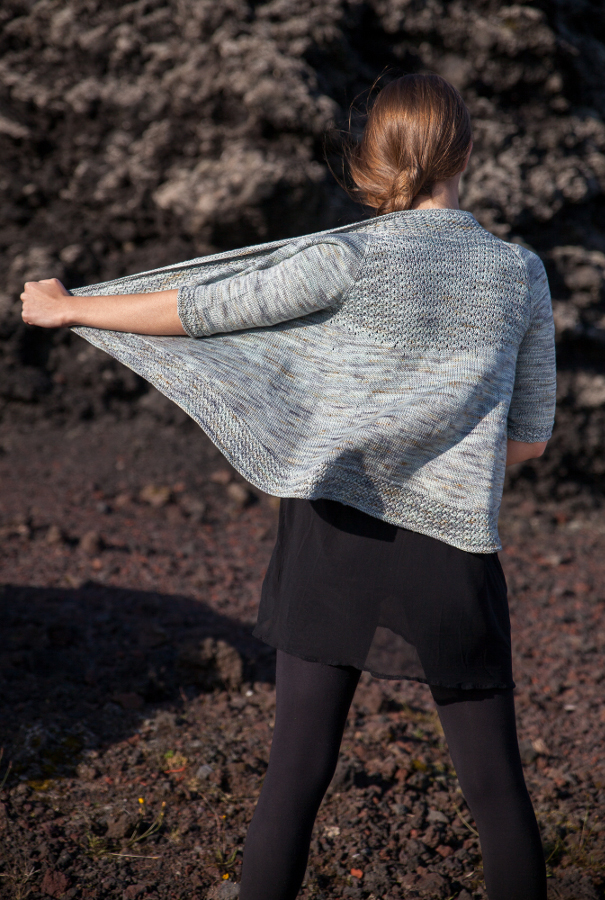
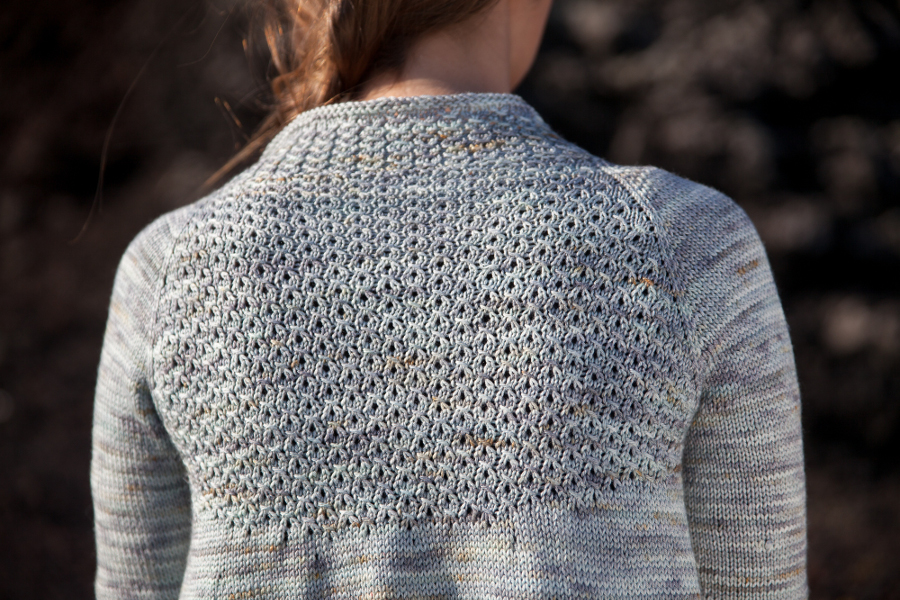
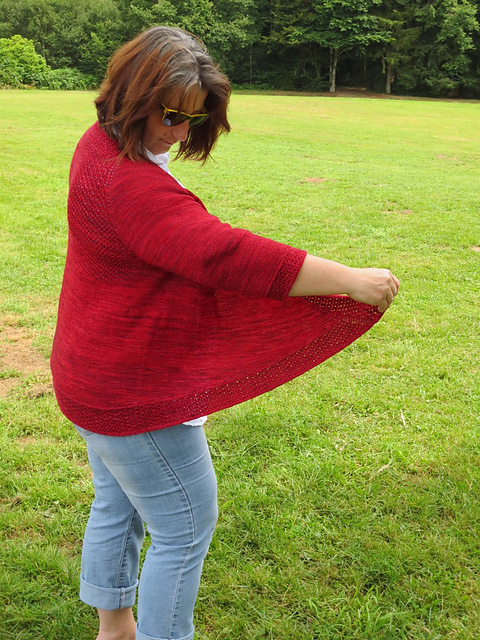
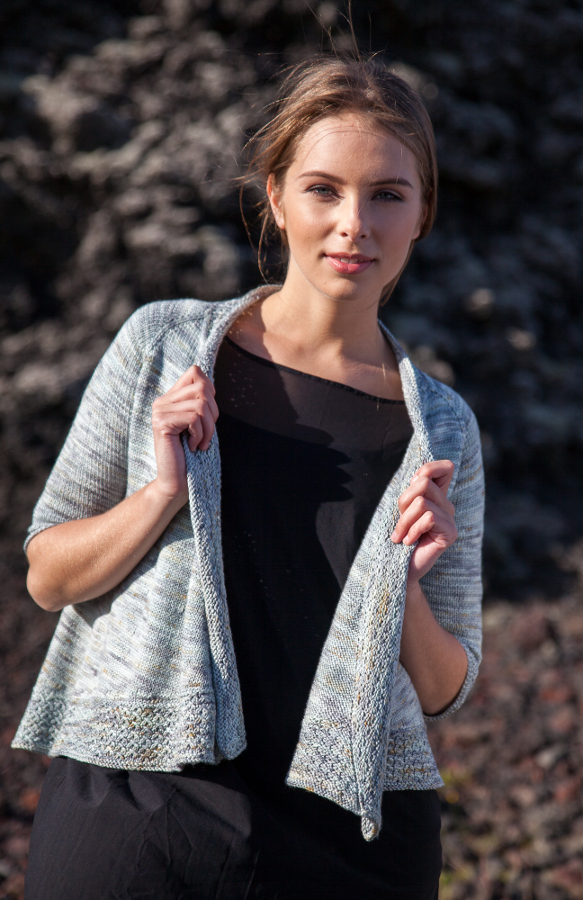
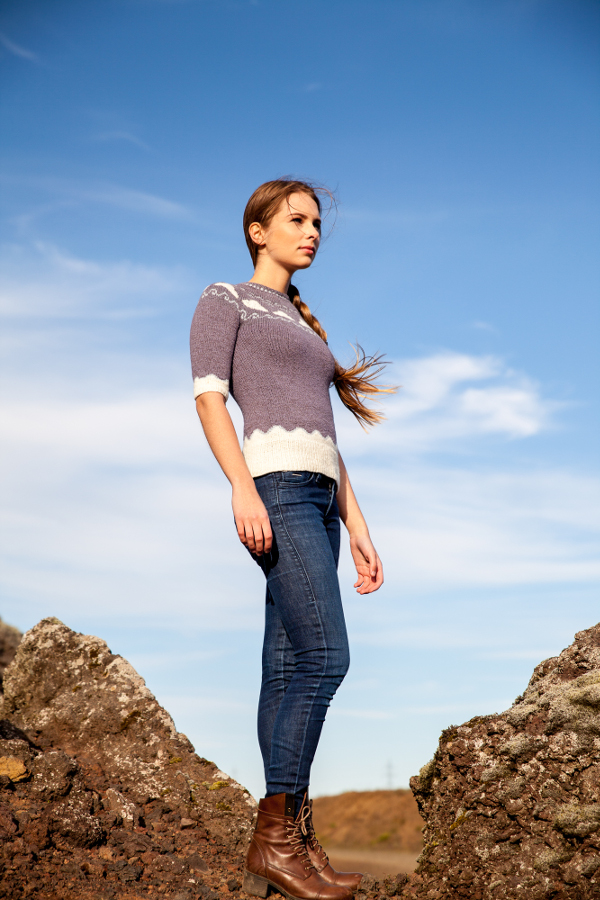
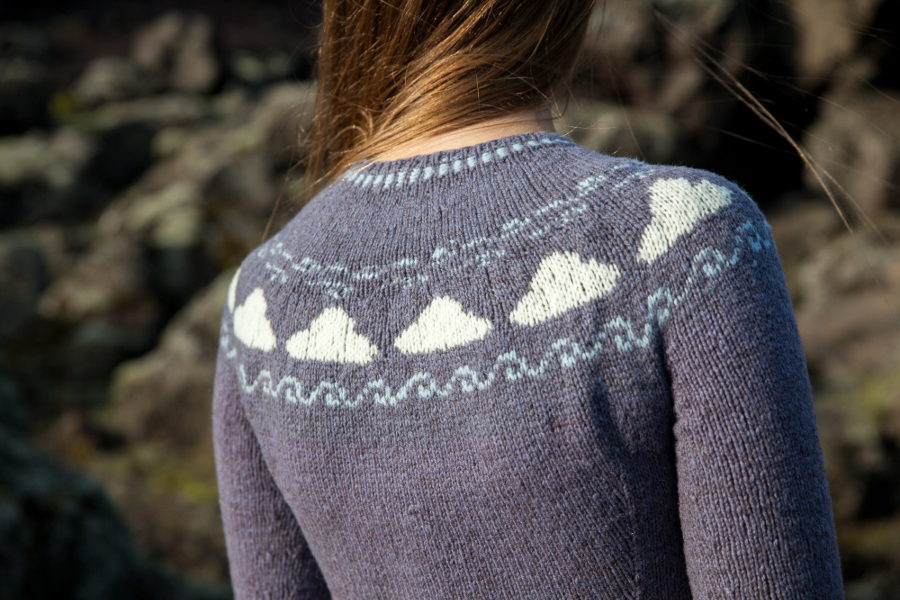
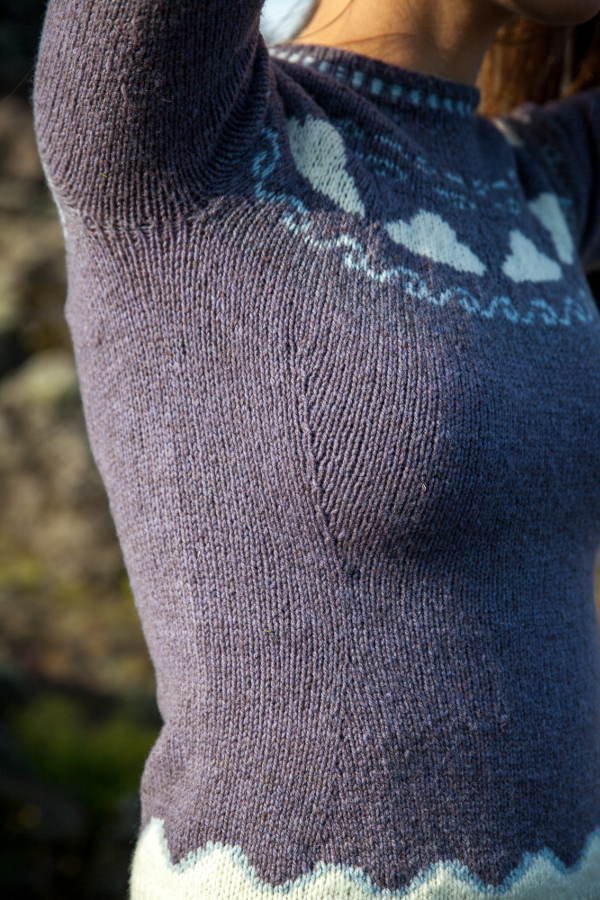
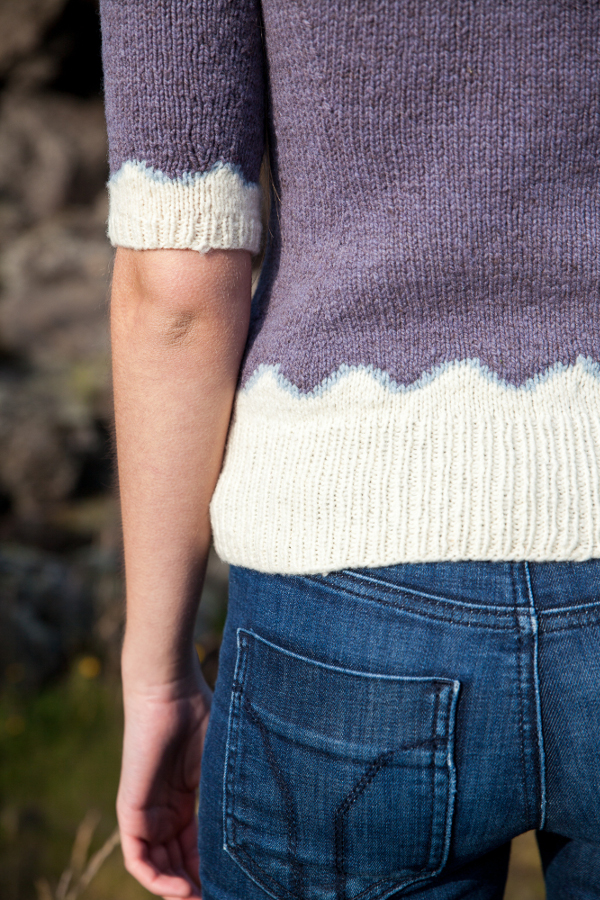
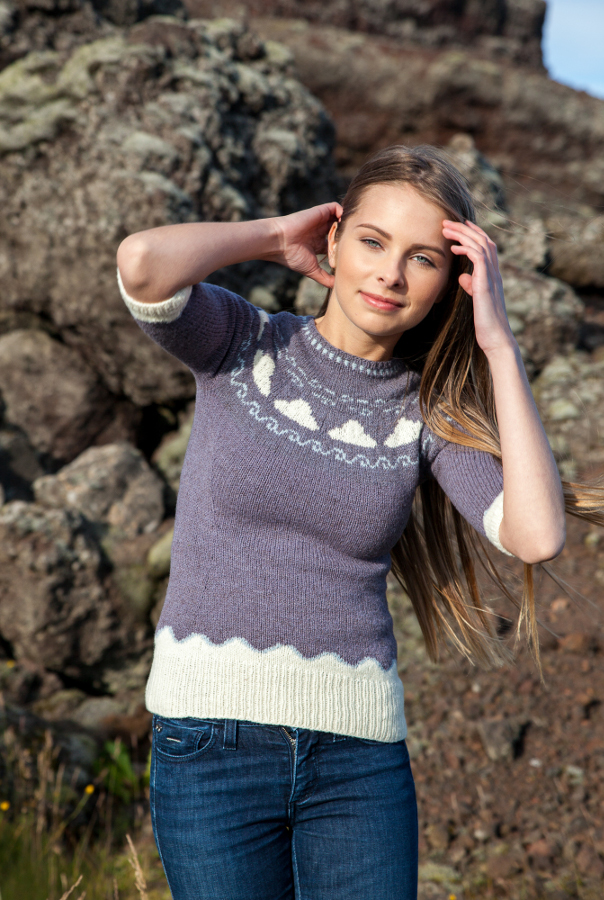
Voici quelques versions du Bláa Lónið Sweater.

Want to knit a cozy sweater, to play with colors and with brioche st ? Here are some versions of Bláa Lónið Sweater.

P1230754_medium2 DSC_0394_071_medium2 IMG_2626_medium 101_4181_3_medium2 DSCF0053_medium2 P1020911_medium2

DSC_3612_medium2Merci à Sandrine, Charlotte, My Anh, Florence, Christine, Steph et Ingrid ….

Vous trouverez les autres projets ici

And you can find the other projects here :

Rendez-vous sur Hellocoton !

Breiðárlón cardigan – how to fit the pattern to your size / comment adapter le patron à votre taille

breidarlon_2_ptCe cardigan relativement ample s’adapte à beaucoup de morphologies. Mais peut être aurez-vous envie d’allonger le corps du gilet pour qu’il couvre le bas de votre dos ?

This relatively ample cardigan fits many body types. But maybe you‘ll want to lengthen the body for covering your lower back?

Comment choisir la taille du cardigan ?

Pour pouvoir choisir la taille du cardigan à tricoter, vous devez prendre la mesure de votre dos du milieu d’une aisselle à l’autre, en passant sur les omoplates. Vous choisirez ensuite la taille qui se rapproche le plus de votre mesure de dos.

How to choose the size ?

To choose the size of this cardigan, you have to take your back measurements from the middle of one underarm to the other and you have to pass over your shoulder blades. You can now choose the size closer to your back measurements.

Comment allonger le corps du cardigan ?

Si vous désirez allonger le corps du cardigan, vous devez absolument allonger le corps avant les rangs raccourcis.

Pour ce faire, vous devez prendre en compte votre échantillon en rangs.

Ex : si vous désirez allonger le corps de 5 cm, vous devrez alors ajouter 16 rgs (échantillon de 32 rgs pour 10 cm).

Il faut prendre aussi en compte qu’à chaque rang endroit que vous ajoutez, vous ajoutez deux mailles en plus au cardigan. Et pour pouvoir placer la bordure adéquatement, il faut que le nombre ajouté de rgs soit un multiple de 6.

Par conséquent, si vous désirez ajouter 16 rgs, vous aurez 16 mailles en plus, 16 n’étant pas un multiple de 6, vous devrez donc ajouter 2 mailles sur le dernier rg avant la bordure ou bien travailler 2 rgs de plus.

breidarlon_3_ptHow to lengthen the body of the cardigan?

If you want to lengthen the body of cardigan, you have to lengthen the body before working short rows.

To do this, you have to consider your gauge.

Eg if you want to add 5 cm / 2″ to the body, you have to add 16 rows (gauge : 32 rows = 10 cm/4”).

But you have to take into account that at each row you add, you add two sts more to the cardigan. And to place the starry night edge properly, you have to add a multiple of 6 sts.

Therefore, if you want to add 16 rows, you will have 16 stitches more but 16 is not a multiple of 6, so you have to add two stitches on the last row before the edge or work 2 rows more.

Ici un exemple de cardigan modifié en ajoutant des rgs et des mailles
Here is an example of a cardigan with 16 rows more for the body.
cardi_christelle6_medium2
Si vous désirez plus d’informations, vous pouvez poser vos questions ici:
If you need more informations, you can post your questions here :
breidarlon_5_pt

PDF du cardigan / PDF of the cardigan

Tous les patrons de la collection Colors of Iceland /

All of the patterns of the Colors of Iceland Collection

Rendez-vous sur Hellocoton !

KAL Colors of Iceland – brioche st – diminutions / decreases

Voici le troisième volet du tutoriel sur le point brioche.

Il s’agit ici des diminutions penchées à droite et des diminutions penchées à gauches. Comme dans les mailles classiques, il existe aussi d’autres types de diminutions mais je ne les aborderai pas ici.

Here is the third part of the brioche stitch tutorial.
They are the equivalent of  decreases leaning to the right and to the left. As in conventional knitting, there are also other types of decreases but I will not discuss of them here.

Brk3tog / Br-Dble Dim. D.
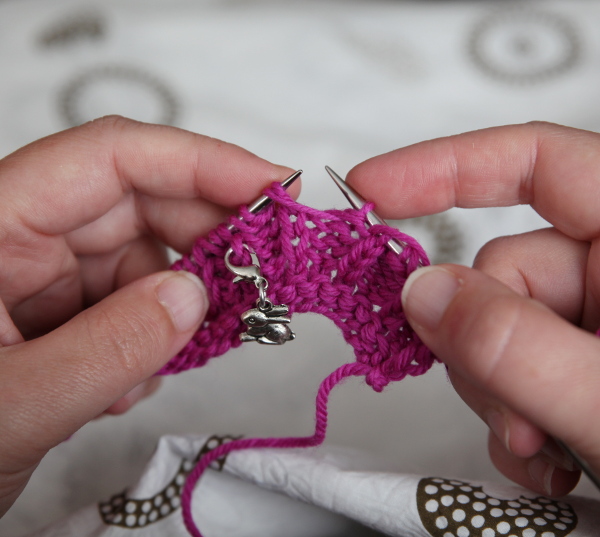
brk3togPlace a marker on the st you will decrease

Placez un marqueur à l’endroit où vous envisagez de faire la diminution.
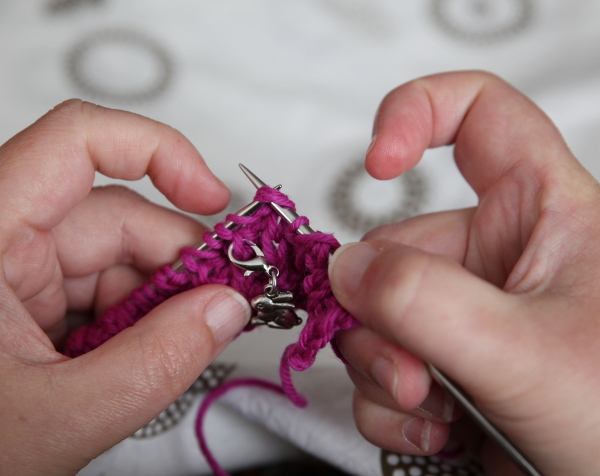
brk3tog_1Work as established to 2 sts before marker (you have 2 sts : a “double” st and a purl st)

Tricotez comme préconisé par le patron jusqu’aux 2 mailles avant le marqueur (le groupe de 2 mailles et une maille envers)
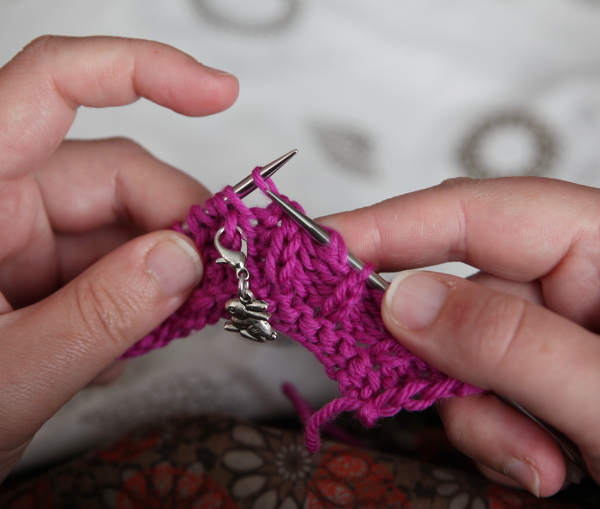
brk3tog_2Knit these sts together.

Tricotez ces mailles ensemble (le groupe de 2 mailles et la m. env.)
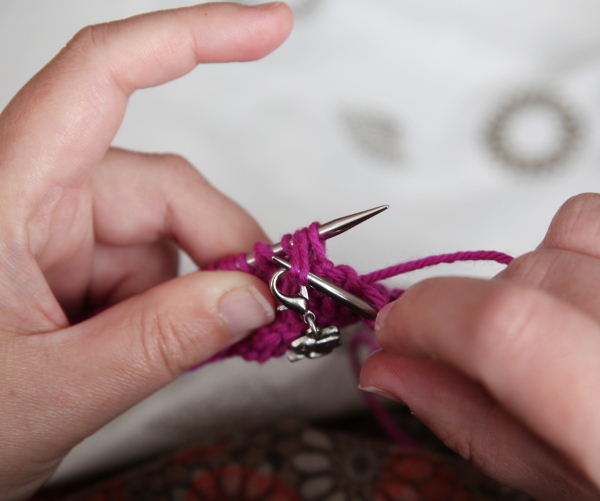
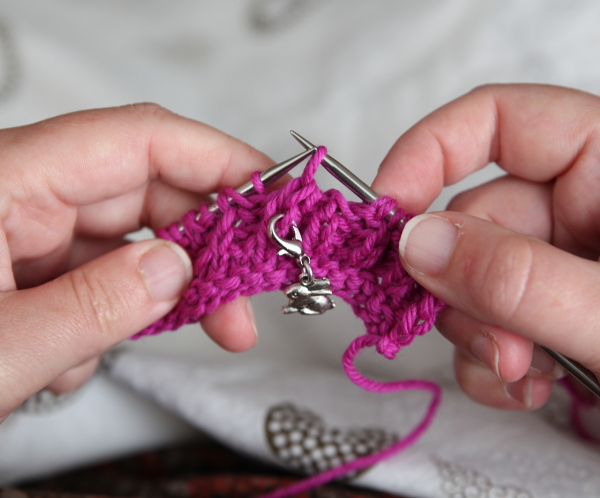
brk3tog_3Glissez la m. obtenue sur l’aiguille gauche et glissez le groupe de 2 mailles au dessus de la m. glissée de l’aiguille droite à l’aiguille gauche.

Return the st just worked on the left needle and pass the marked st (a “double” st) over the just worked st.
brk3tog_4Brsssk / Br-Dble Dim. G.

brkssskTout d’abord, placez un marqueur à l’endroit où vous envisagez de faire la diminution. Ensuite tricotez comme préconisé par le patron jusqu’à 1 maille avant le marqueur (la maille envers).

Before working this st, place a marker on the st you want to decrease. After that, work as established to 1 st before marker (you have a purl st).
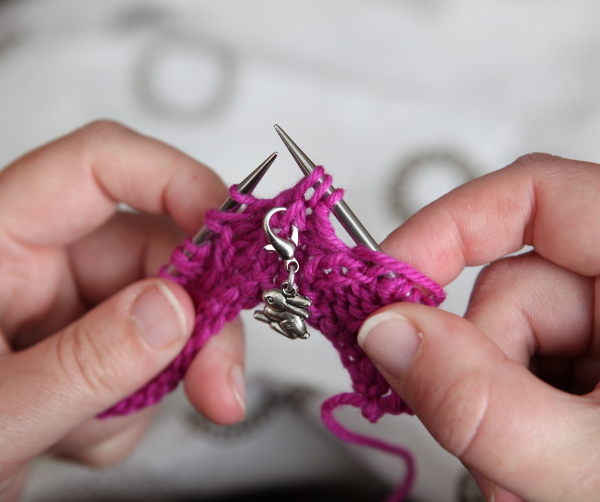
brksssk_1Slip the next st purlwise. Slip the next st (the “double” st) knitwise on the right needle.

Glissez la m. suivante comme si vous la tricotiez à l’envers.
Glissez le groupe de 2 mailles qui suit comme si vous le tricotiez à l’endroit en une seule fois sur l’aiguille droite.
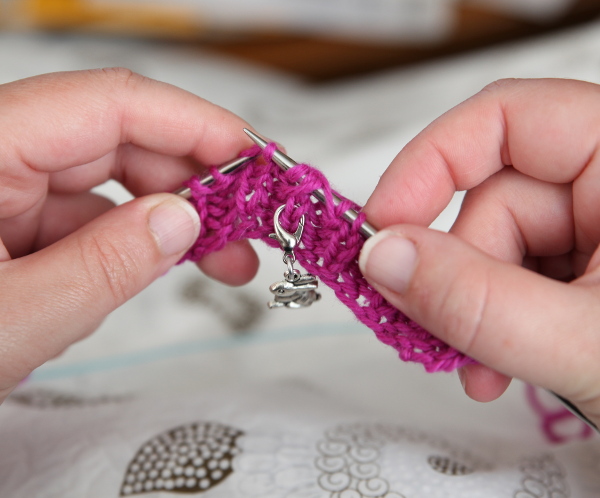
brksssk_6Slip the next st purlwise on the right needle and knit the next st (the “double” st) together (thus you has slipped 3 sts on your right needle).

Glissez de nouveau la maille suivante sur l’aiguille droite comme si vous la tricotiez à l’env. et tricotez le groupe de 2 mailles suivantes ensemble (vous glissez en tout : 1 m. env., 1 groupe de 2m. et 1 m. env.).
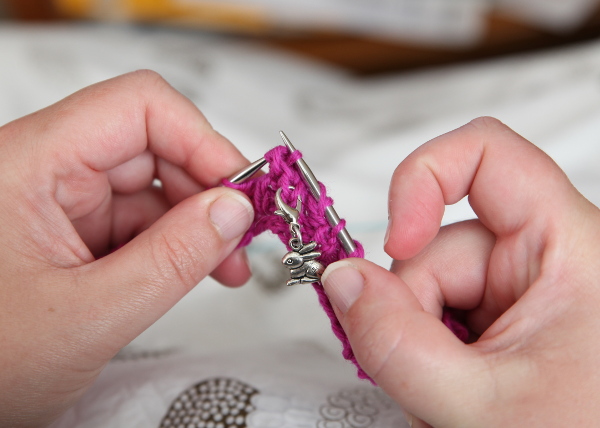
brksssk_7Pass these sts over the just worked st.

Glissez ensuite le groupe de 2 m. et la maille glissée au dessus de la maille que vous venez de tricoter.

Voici qui conclut une petite introduction au point brioche. Bon tricot !

This concludes a brief introduction to brioche st. Happy knitting!

Vous pouvez retrouver le KAL Colors of Iceland ici :

You can find the Colors of Iceland KAL here :

Christal LK Design group

And the pattern using Brioche st here :

Et les patrons utilisant le point brioche ici :

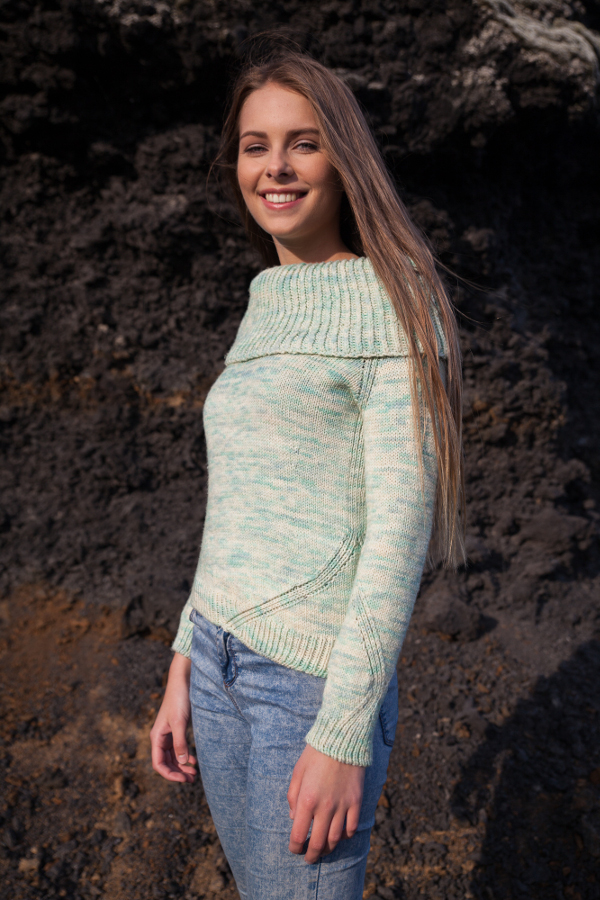
 Bláa Lónið Sweater
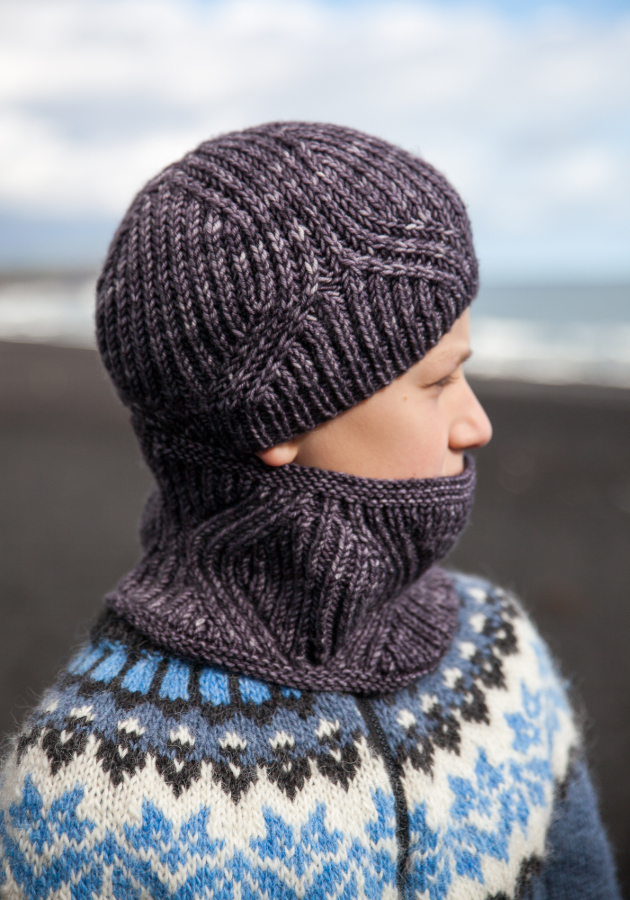
blaa_lonid_8_ptVegvisir Cowl and Hat / Col et bonnet Vegvisir

vegvisir_1_pt

Et l’ebook ici / And the ebook here:

Rendez-vous sur Hellocoton !

KAL Colors of Iceland – Brioche st

Bientôt le départ du KAL Colors of Iceland.

Le premier post concernant les techniques utilisées dans cet ebook concernera le point brioche. Même si les abréviations paraissent ardues, si cela semble insurmontable, cela vaut la peine de s’y pencher et s’acharner. Car une fois appréhendé, c’est un point simple à mettre en application et surtout avec un rendu très intéressant : gonflant, réversible. Tout pour les doudous de cou.

Soon it’s the start of Colors of Iceland KAL

The first post about the techniques used in the ebook concern brioche stitch. Although abbreviations seem difficult, if it seems insurmountable, it’s worth to strive hard to learn it. Because once apprehended,  it is a fun technique with a very interesting effect : reversible and comfy. All for cocooning your neck or your head.

La première chose à savoir c’est qu’il est important de voir la double maille formée par le jeté et la maille glissée lors du rg précédent comme une seule maille. Par conséquent, le point brioche env. (Br-env) est à voir comme une maille envers, le point brioche end. (Br-end) est à voir comme une maille endroit et les diminutions comme 3 mailles ensemble ou bien un surjet double.

To understand brioche stitches, it is helpful to see the “yo and slipped st” of the previous row as a single st, therefore, a brk is equivalent to a knit st, brp to a purl st, a brk3tog is equivalent to a k2tog in traditional (non-brioche) knitting, and so on.

Le point brioche se compose toujours d’un duo de deux mailles : une maille glissée avec un jeté (que l’on considère comme une seule maille) et par la maille qui suit qui se tricote soit à l’envers soit à l’endroit.

The brioche point always consists of a pair of two stitches: a slipped stitch with a yarn over (which are considered as a single st) and the following st that is knitted or purled.

Vous trouverez donc toujours les abréviations Br-end ou Br-env précédées ou suivies de Br-Gl. j

 In the abbreviations, you always have the “Yf slyo” abbreviation before or after the “Brk” or “Brp” one.
Yf sl1yo (or Sl1yof) / Br-Gl. j 
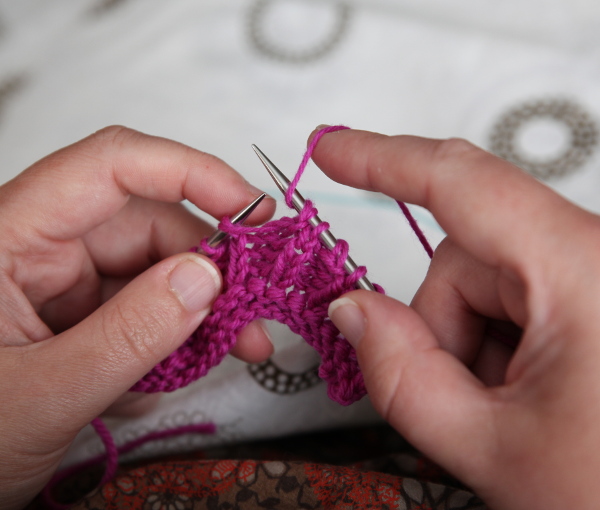
brk_1Slip the yarn in front of the work
Faites glisser le brin de laine sur l’avant du tricot
brk_2Glissez la maille de l’aiguille gauche sur l’aiguille droite comme si vous la tricotiez à l’envers.
Slip the st purlwise from left needle to right needle.
Brk / Br-end
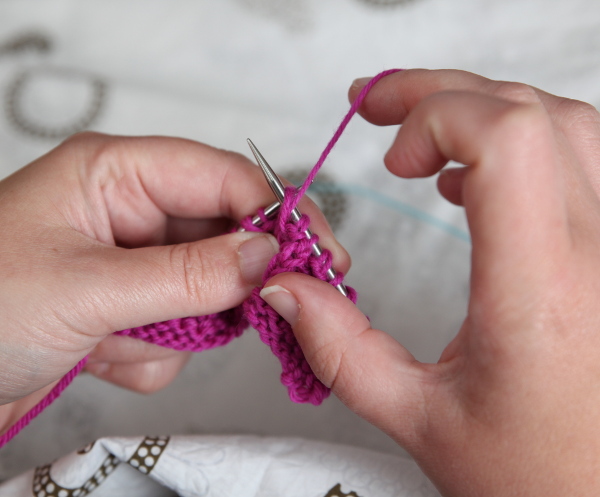
brk_3
brk_4Vous tricotez les deux mailles suivantes à l’endroit (la maille endroit et le jeté fait lors du rg précédent).
You knit the 2 sts together (the slipped st and the yo worked in the previous row)
Brp / Br-env
brpBring back the yarn to the front of the needle (you “wrap” the slipped st with the yo)
Passez de nouveau le fil vers l’avant (vous “enveloppez” la maille glissée)
brp_1Tricotez les 2 mailles suivantes à l’envers (la maille suivante et le jeté formé au rg précédent).
Purl the next 2 sts together (the slipped st and the yo worked in the previous row)
Voici les points de base du point brioche.

Here are the basis points of brioche st.

A savoir : lorsque vous tricotez à plat, vous tricotez toujours à l’endroit (Br-end) et lorsque vous tricotez en rond, vous tricotez un rg à l’endroit et un rg à l’envers (Br-env) …. comme pour le point mousse à plat ou le point mousse en rond.

To wit : when you work flat, you always work knit sts (Brk) and when you work in round, you work a rd with knit st and a rd with purl st (Brp) …. as garter st flat or in round !

Pour aller plus loin, voici une video Drops du point brioche en rond.

In order to go further, here is a Drops video of the brioche st in rd.

Vous pouvez retrouver le KAL Colors of Iceland ici :

You can find the Colors of Iceland KAL here :

Christal LK Design group

And the pattern using Brioche st here :

Et les patrons utilisant le point brioche ici :

 Bláa Lónið Sweater

blaa_lonid_8_ptVegvisir Cowl and Hat / Col et bonnet Vegvisir
vegvisir_1_pt

Et l’ebook ici / And the ebook here:

Rendez-vous sur Hellocoton !

Skógar Mitts et Vegvisir Cowl and Hat – Colors of Iceland

Et aujourd’hui je fais un tir groupé. Le post accessoires en (Vi)Laines.

Car après cette déferlante de vêtemens (et un châle), il fallait que je prévoie aussi quelques petites pièces. Juste les petits accessoires vite tricotés lorsque vous avez envie de faire un cadeau (ou de vous faire un cadeau).

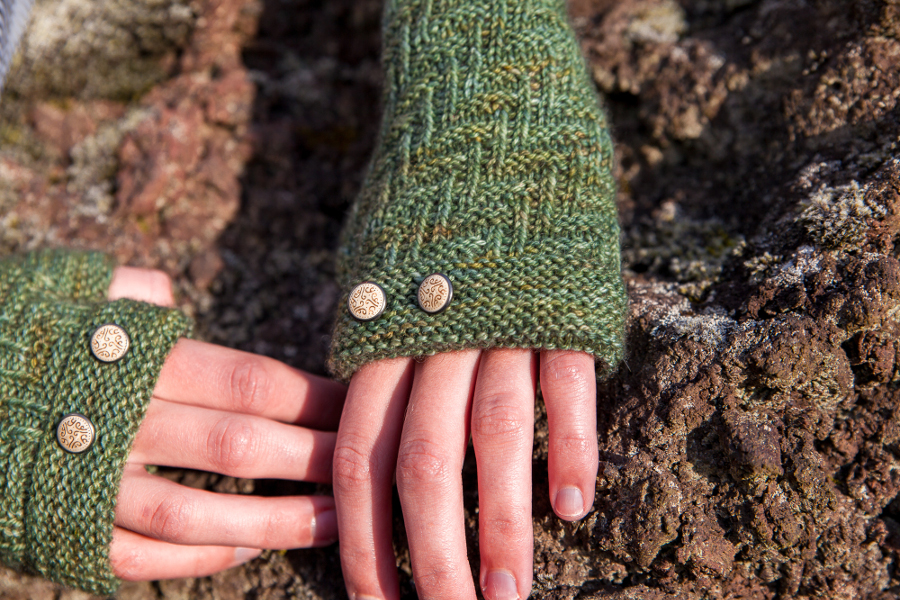
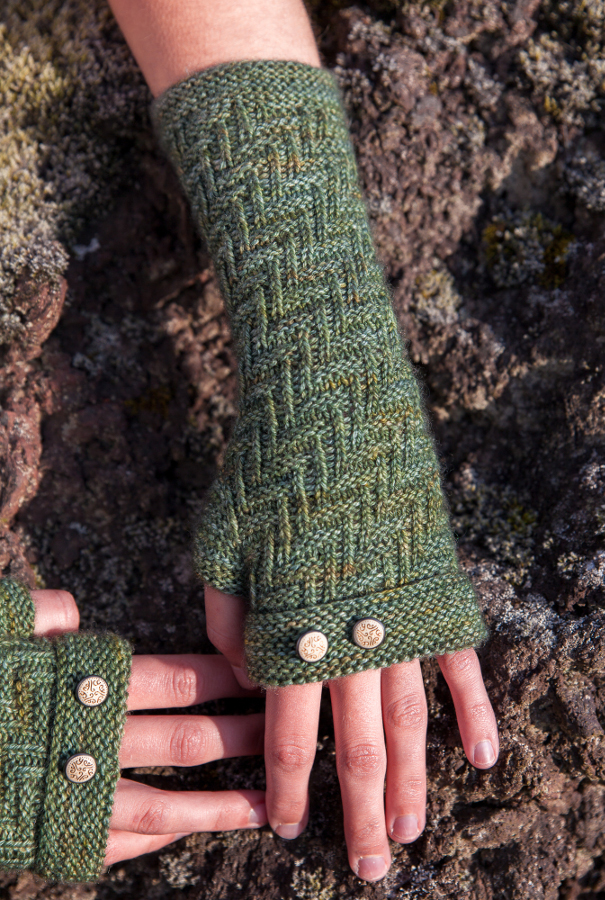
Les mitaines sont dans un vert landes, vert omniprésent en été en Islande.  Le vert de l’herbe grasse qui donnent sa saveur si particulière aux moutons (désolée, c’éait un blog culinaire ici avant :o)

IMG_8848_ptAnd today I make a double post. A post about accessories in (Vi)Laines.

Because after this wave of garments (and a shawl), I also had to provide some small accessories. Small accessories you can knit quickly when you want to make a gift (or give you a gift).
The mitts are in a green that evoke moors land,this ubiquitous green present during the Summer in Iceland. The green of the lush grass that give its peculiar flavor to the sheep (sorry, this blog was a blog about cooking before: o)

Elles sont très simples à faire, c’est le point texturé qui donne tout le style de ces mitaines. J’ai voulu faire un patron accessible à tous. Uniquement des mailles endroit et des mailles envers qui savamment organisées donnent cet effet.

They are very simple to do, it is the textured pattern that gives the style to these mitts. I wanted a very easy pattern for all knitters. An effect given by learnedly organized knit and purl sts.

IMG_8542_Heidmork_Gants_03_ptyre IMG_8538_Heidmork_Gants_02_ptQuant au col et au bonnet, il s’agit d’un bonnet et d’un col tout simple. Sans aucune construction particulière, c’est le point brioche qui donne tout le style de ces deux pièces.

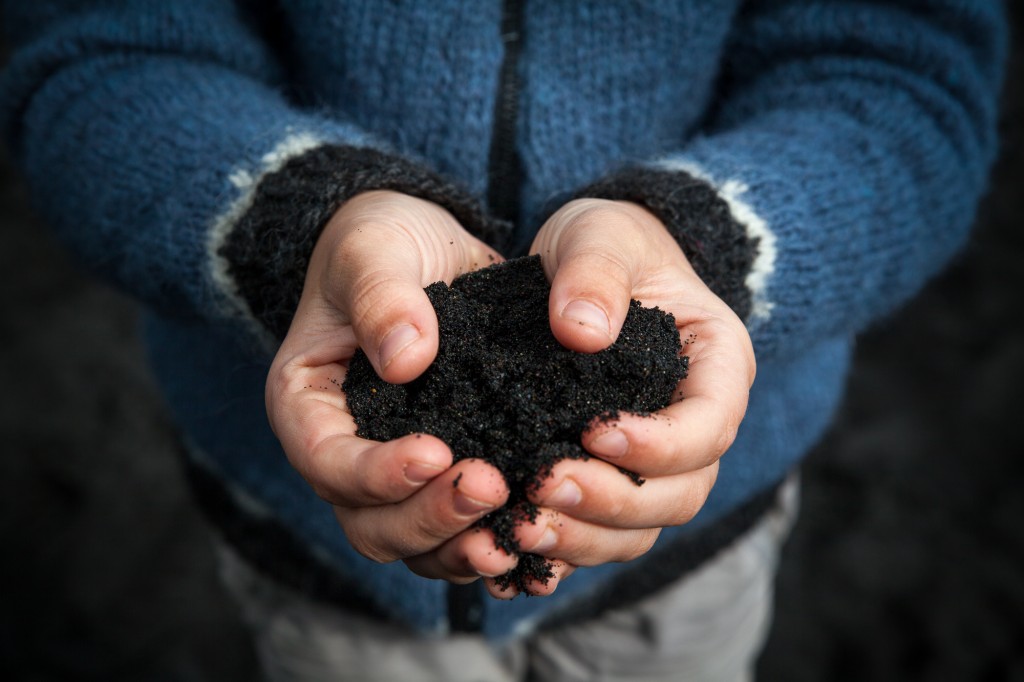
Et le tout en noir. Noir comme la plage de Vik qui m’avait particulièrement impressionné lors de notre premier voyage en Islande.

For the hat and the cowl, they are very simple accessories. Without any special construction. The style is given by brioche st.

And the color is black. Black as the beach of Vik that impressed me so much during our first trip in Iceland.

IMG_8686vegvisir_1_ptLe point brioche est un point particulier comme je l’expliquais ici. Même si de prime abord, les abréviations paraissent ardues, une fois comprises, c’est un point facile et très addictif. Je ne peux que vous conseiller de persévérer !

Brioche st is a particular texture as I explained it here. Even at first glance the abbreviations seem very hard to read but once you understand them, it’s an easy and very addictive texture. I can only advice you to persevere !

Vous pouvez trouver le patron des mitaines ici / You can find the pattern of the mitts here:Vous pouvez trouver le patron du col et du bonnet ici / You can find the pattern of the cowl and the hat here:
  Et l’ebook ici / And the ebook here:

Rendez-vous sur Hellocoton !

Námafjall – Colors of Iceland

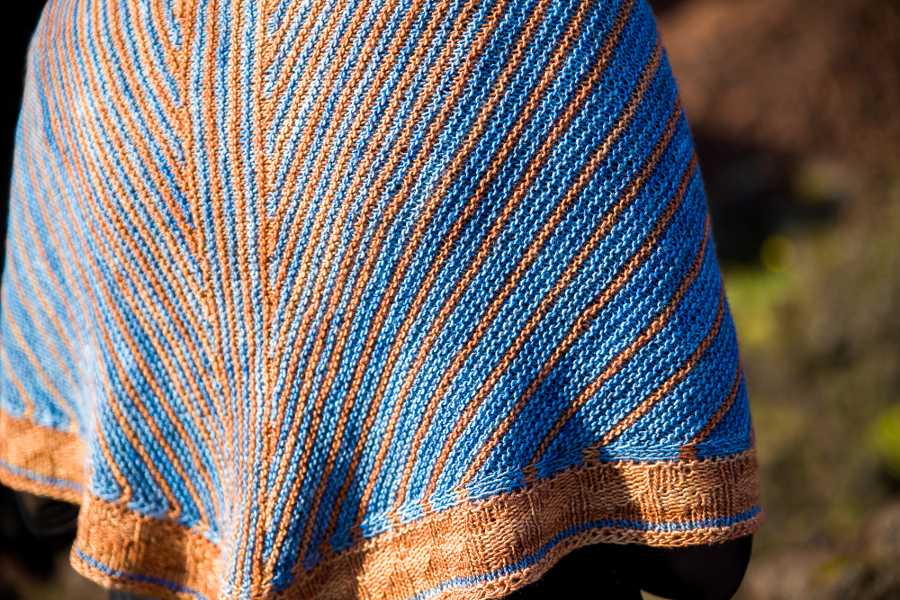
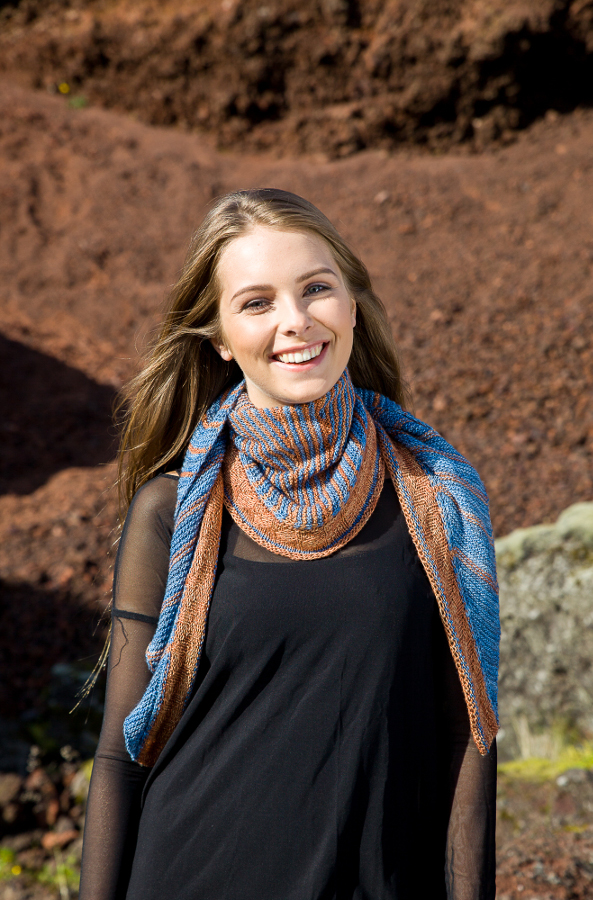
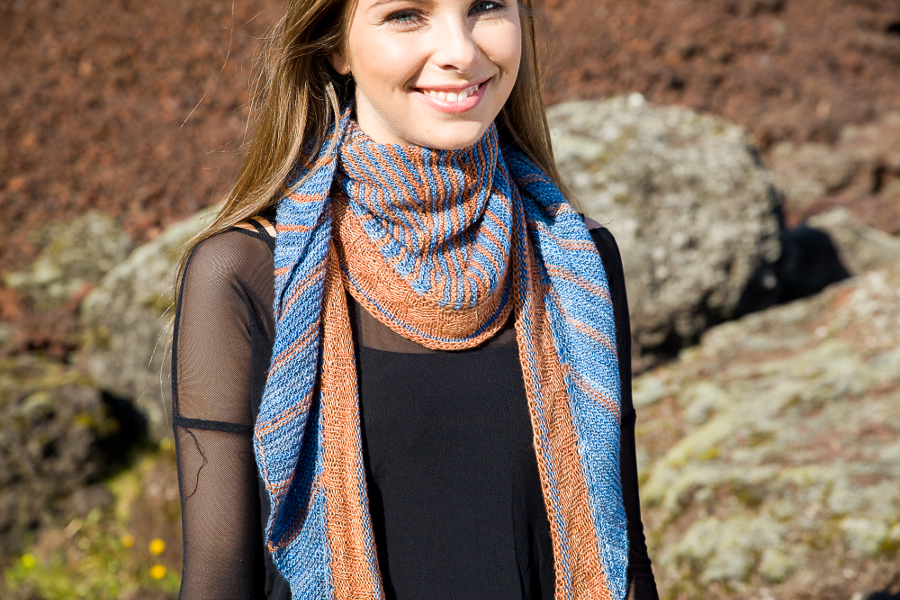
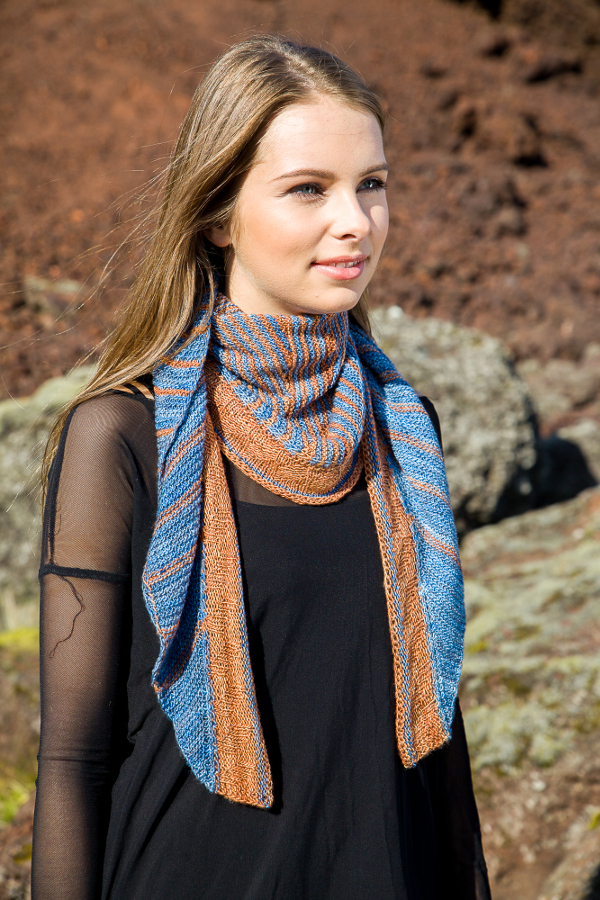
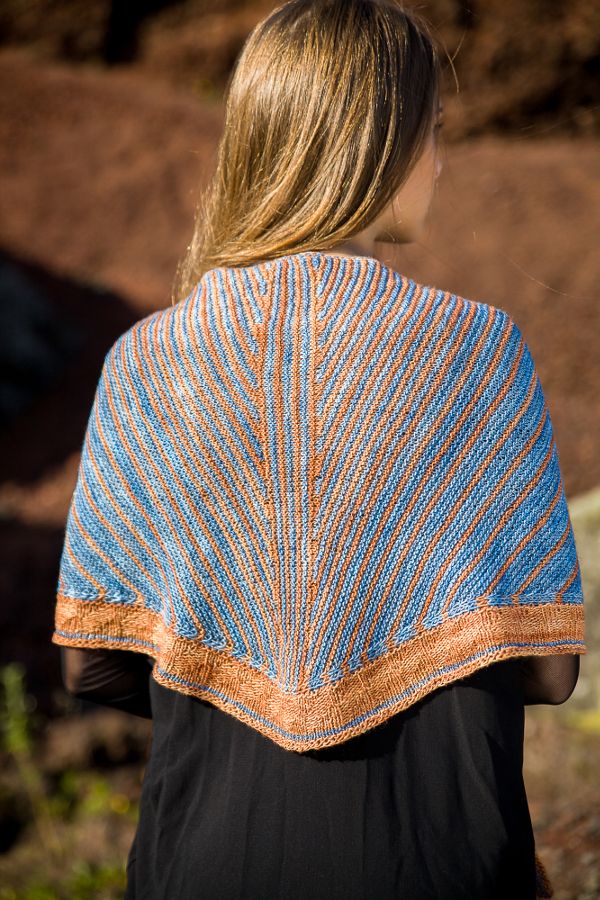
namafjall_6_ptCelui-ci est né d’une impression.

C’est le souvenir de Seltun aussi bien visuel qu’odorant qui m’a guidé dans la création de ce châle.

Et en mettant les pieds dans la zone géothermique du Námafjall, je savais que je ne m’étais pas trompée.

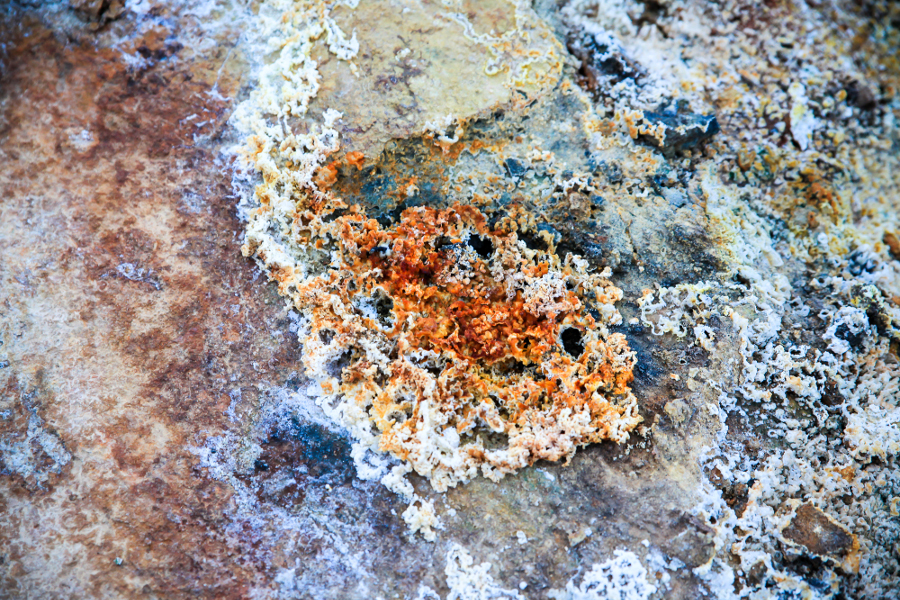
Tous vos sens sont mis à l’affut : odorat, vision, ouïe, toucher. Même le goût est de la partie. L’air est imprégné de vapeurs de soufre, le bruit des jets de vapeur est omniprésent et que dire de la couleur ? Même sous un ciel gris, les différentes nuances de bleu, de rouge et d’ocre vous surprennent.

namafjall_teaserThis one is borned from an impression.

It is the visual and odorous memory of Seltun that guided me in the creation of this shawl.

And setting my feet in the geothermal area of Námafjall, I knew that I was not mistaken.

All your senses are in alert: smell, vision, hearing, touch. Even the taste is part of this. The air is impregnated with sulfur vapor, the noise of steams is omnipresent and what about the color? Even under a grey sky, the different shades of blue, red and ochre surprise you.

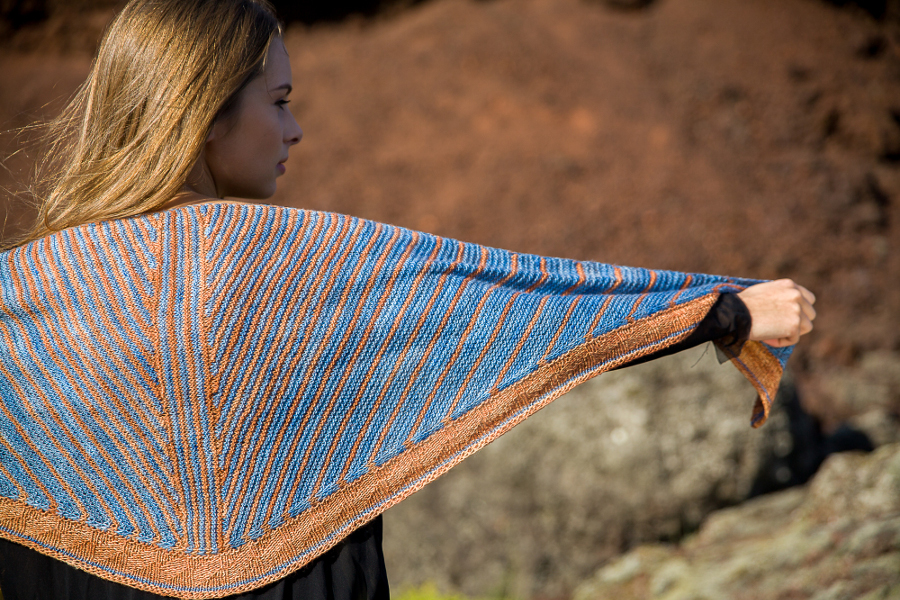
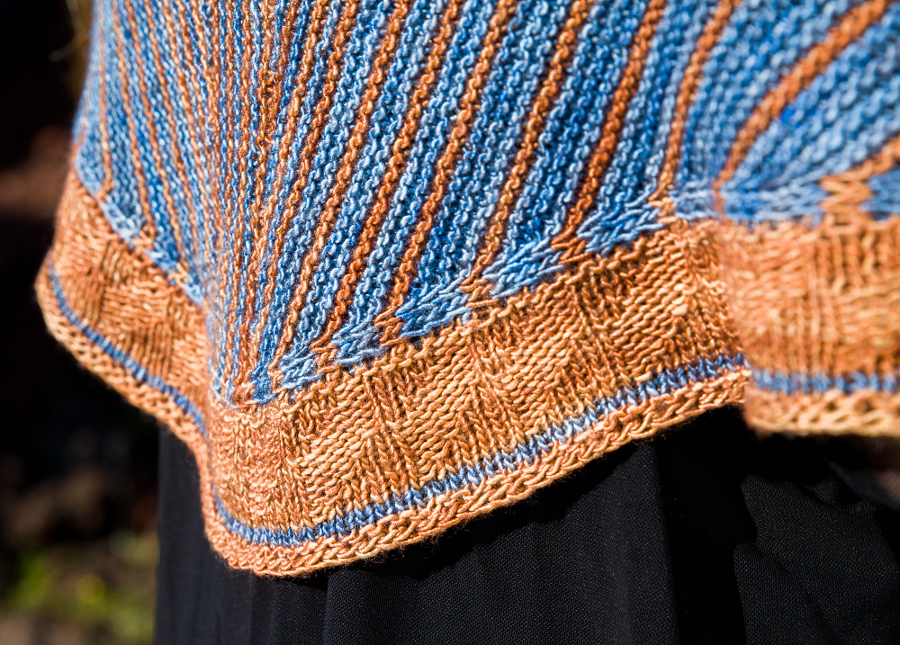
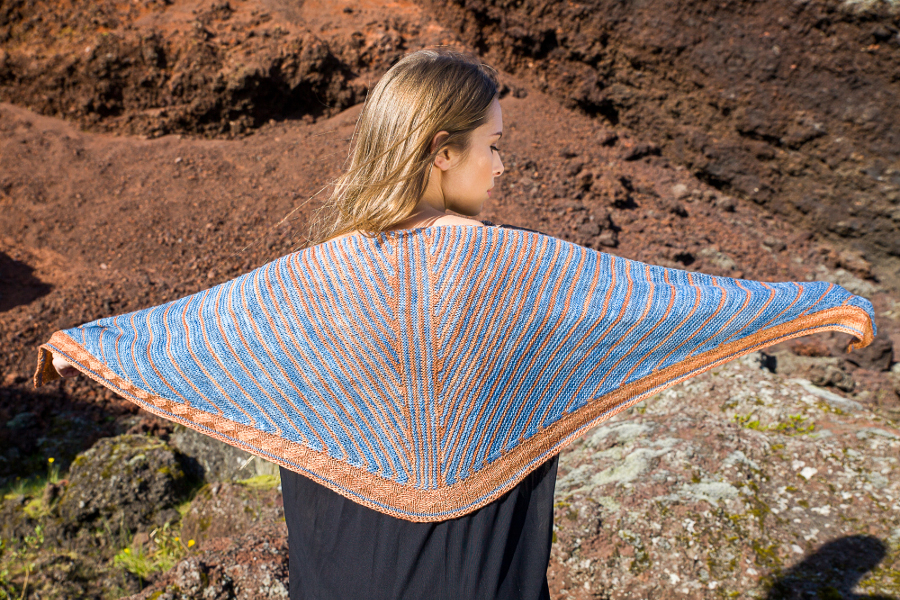
namafjall_4_pt namafjall_1_pt namafjall_2_pt namafjall_3_pt namafjall_5_pt namafjall_7_pt namafjall_8_ptIl s’agit d’un châle assez simple, tout au point mousse ou presque. Avec un jeu de rangs raccourcis pour lui donner sa forme en forme d’aile delta. Que vous soyez débutant ou confirmée, il est pour vous et les rayures vous permettent de jouer avec les couleurs. Des versions multicolores existent chez les testeuses, n’hésitez pas à aller voir les projets des unes et des autres sur Ravelry.

This is a relatively simple shawl, with a lot of garter stitch. The short rows shape the shawl in a delta wing. Whether beginner or confirmed, it is for you and stripes let you play with colors. Some testers knitted multicolored version, don’t hesitate to take a look on all projects on Ravelry.

Vous pouvez trouver le patron ici / You can find the pattern here:

Et l’ebook ici / And the ebook here:

Rendez-vous sur Hellocoton !

Vedur / Little Vedur – Colors of Iceland

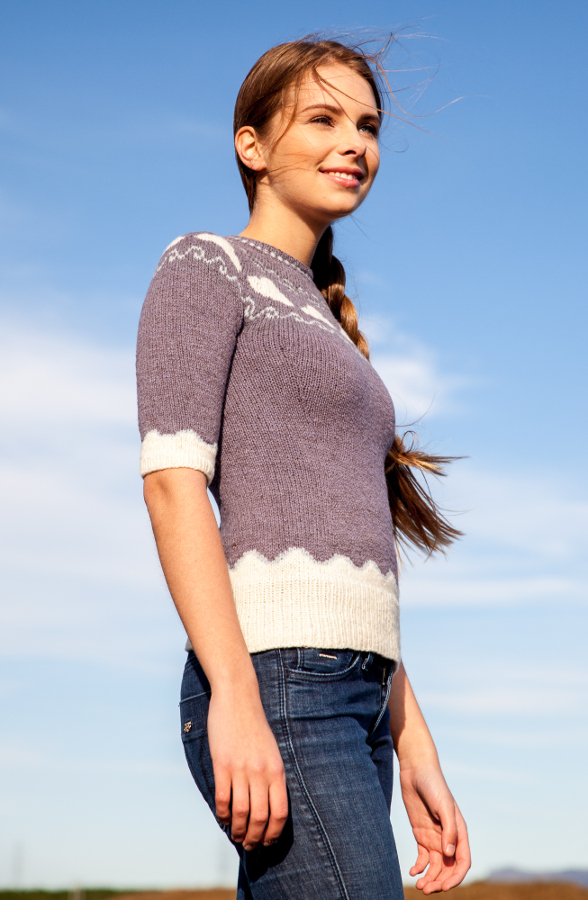
Les deux patrons se retrouvent regroupés car il s’agit d’un duo mère fille. Même inspiration pour les deux mais travail différent au niveau de la forme.

The two patterns are in the same post because it is a mother and daughter duo. Even inspiration for the two sweaters but different designs for the shape.
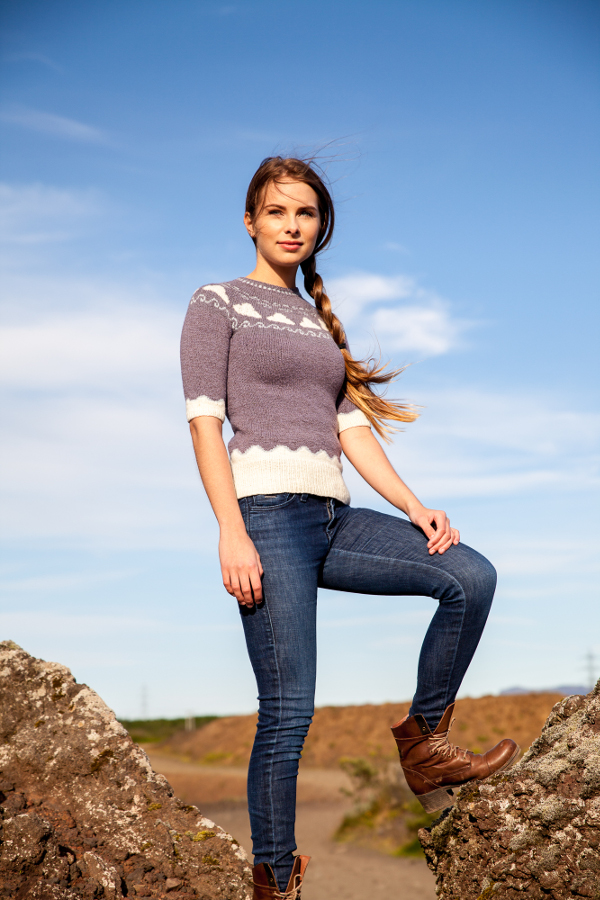
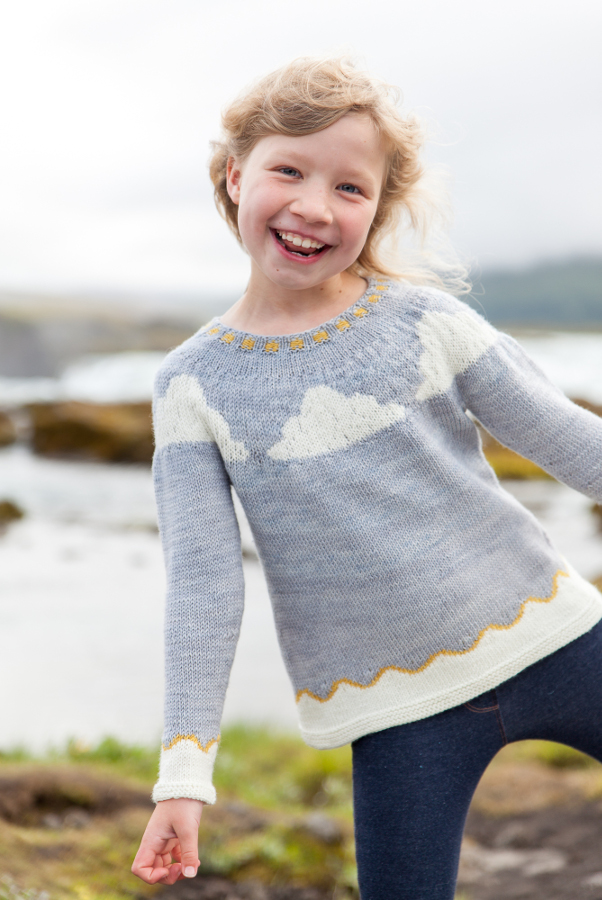
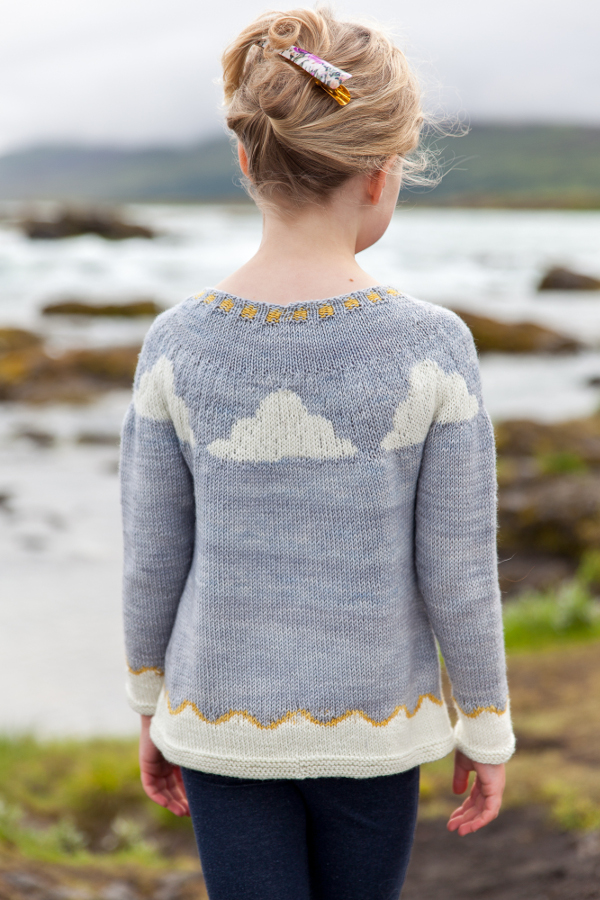
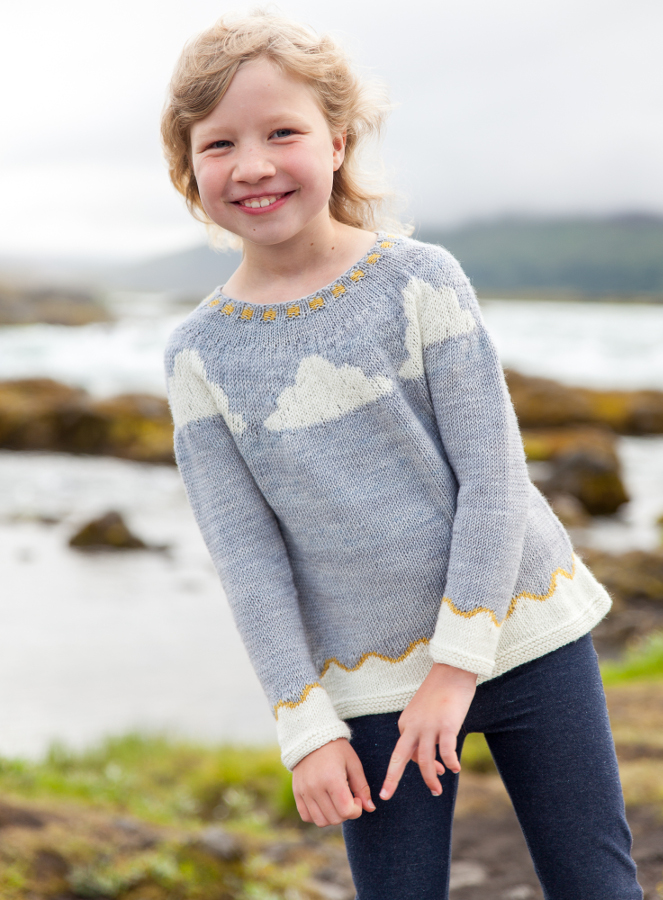
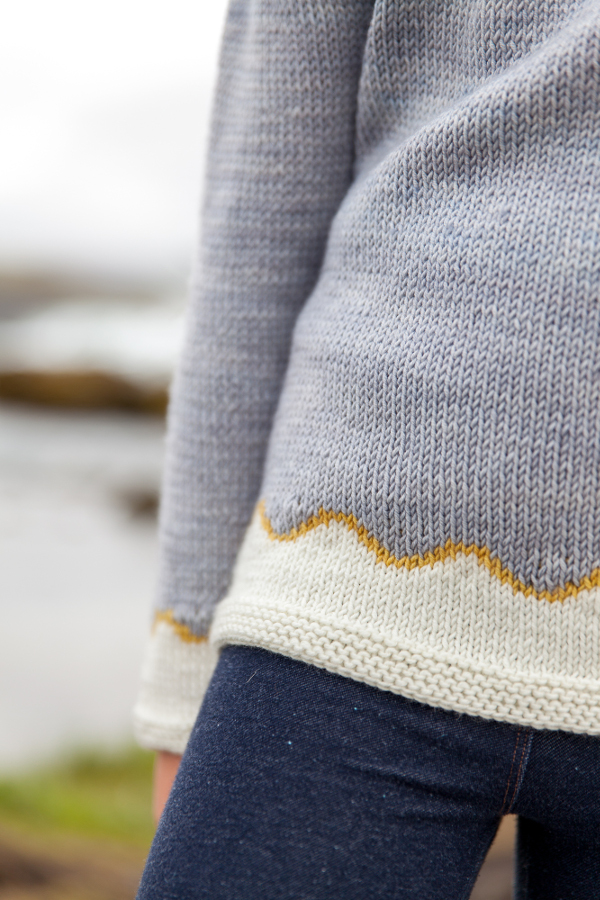
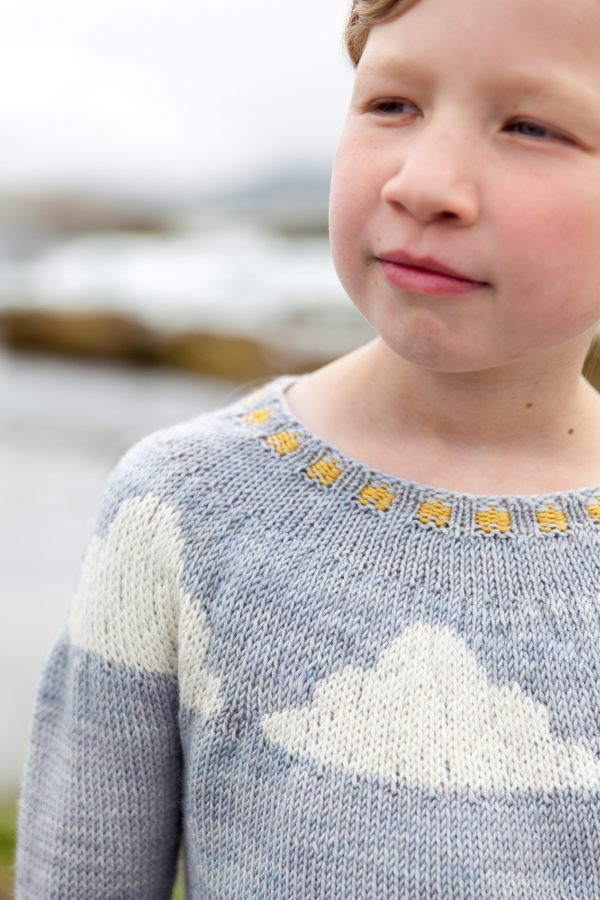
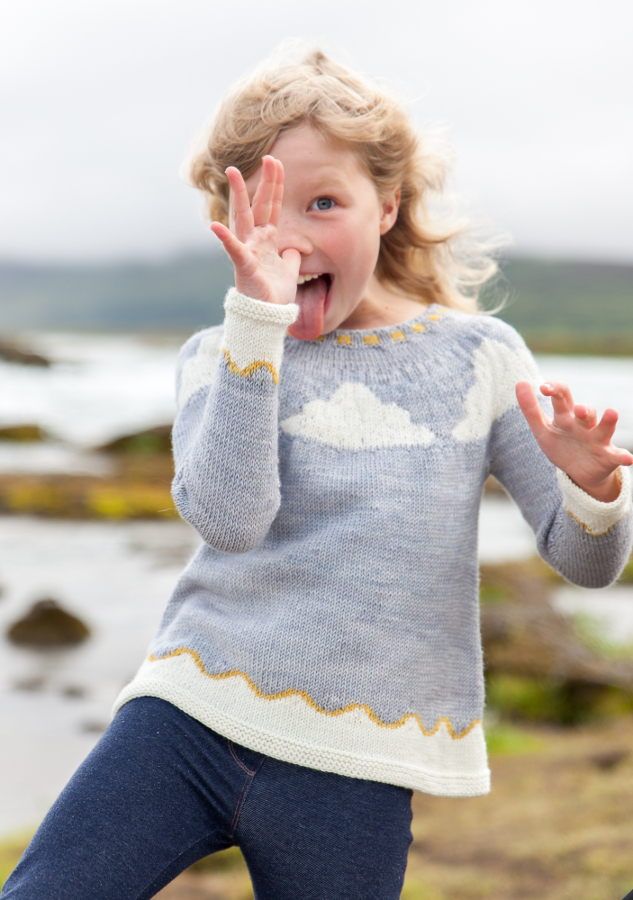
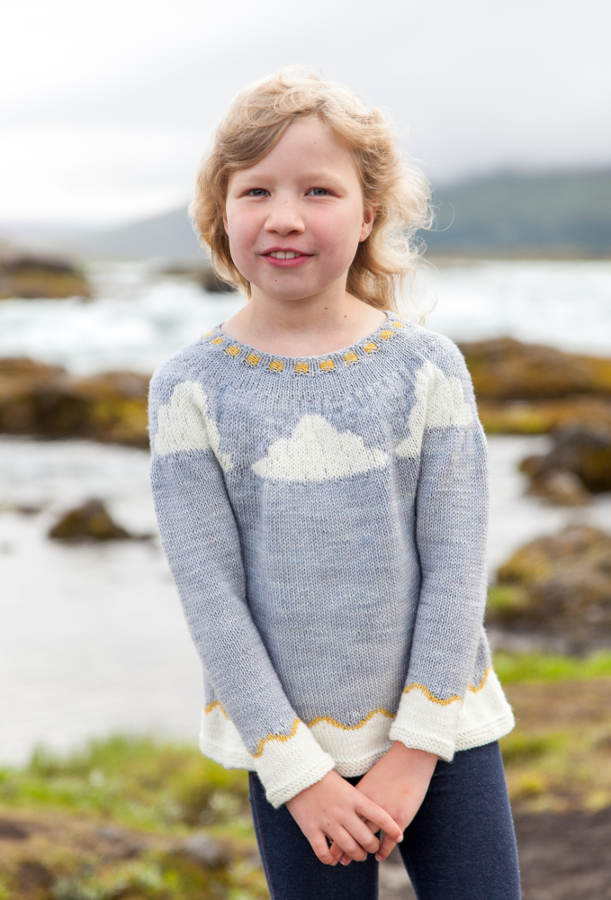
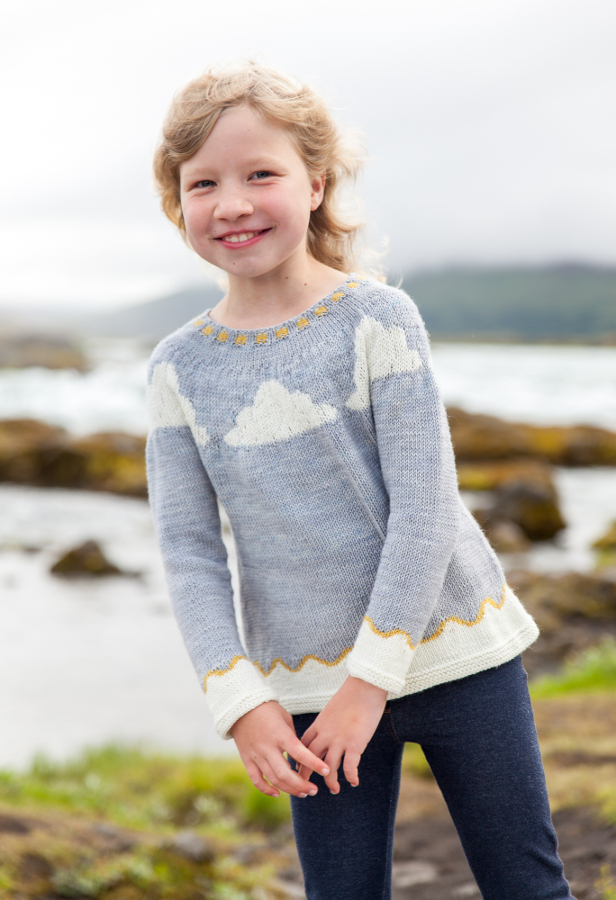
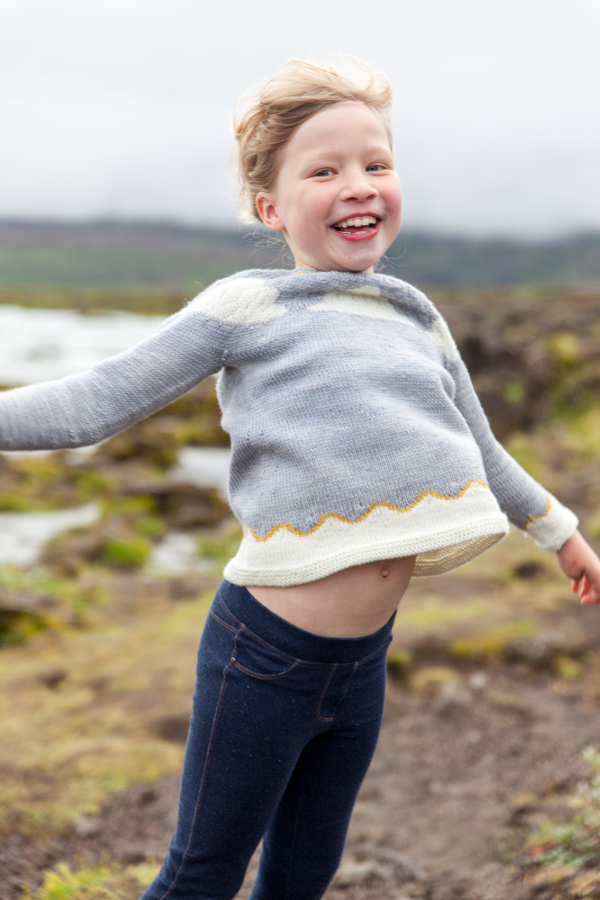
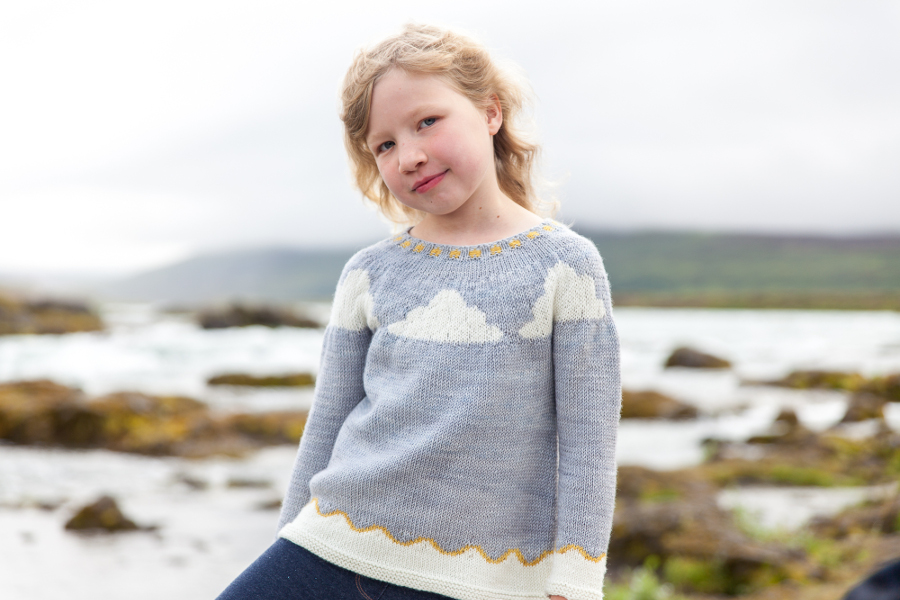
vedur_1_pt Photo shooting at Godafoss, Iceland for the project Colors of IcelandQu’est-ce qui m’a inspiré ce patron ? Le temps bien entendu.

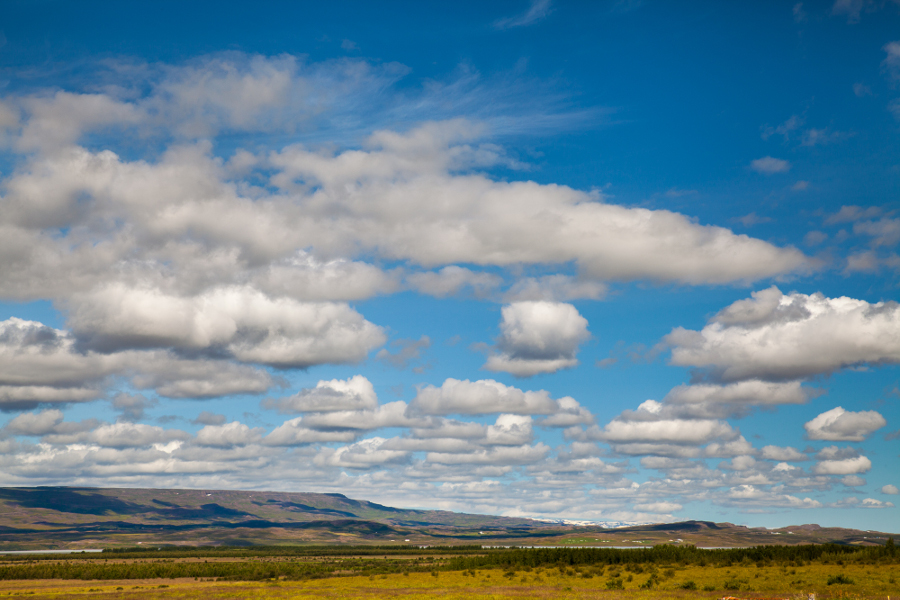
Et les couleurs sont les couleurs du temps : bleu clair, jaune du soleil, gris foncé des nuages menaçants, blanc des nuages moutonneux.

Et qu’en est-il de la construction ? Le thème c’est l’Islande. Je ne pouvais pas passer à côté de la construction des Lopapeysa. Les patrons sont donc inspirés de ces fameux pulls traditionnels islandais.

nuages_ptWhat inspired me this pattern? Weather of course.

And the colors are the colors of the weather: light blue, yellow of the sun, dark gray of stormy clouds, white of fleecy clouds.

And what about construction? The theme is Iceland. I couldn’t pass over the typical construction of the Iceland sweaters: Lopapeysa. Thus this patterns are inspired by these Icelandic sweaters and I used the circular yoke construction to design them.

Photo shooting at Godafoss, Iceland for the project Colors of Iceland Photo shooting at Godafoss, Iceland for the project Colors of Iceland Photo shooting at Godafoss, Iceland for the project Colors of Iceland Photo shooting at Godafoss, Iceland for the project Colors of Iceland Photo shooting at Godafoss, Iceland for the project Colors of Iceland Photo shooting at Godafoss, Iceland for the project Colors of Iceland Photo shooting at Godafoss, Iceland for the project Colors of Iceland Photo shooting at Godafoss, Iceland for the project Colors of Iceland Photo shooting at Godafoss, Iceland for the project Colors of Iceland

vedur_2_pt  vedur_4_pt vedur_5_pt vedur_6_pt vedur_7_pt vedur_8_ptVous pouvez trouver le patron Vedur ici / You can find Vedur pattern here:

Vous pouvez trouver le patron Little Vedur ici / You can find LittleVedur pattern here:

Et l’ebook ici / And the ebook here:


Rendez-vous sur Hellocoton !

Richter sweater – Colors of Iceland

Terre et feu ….

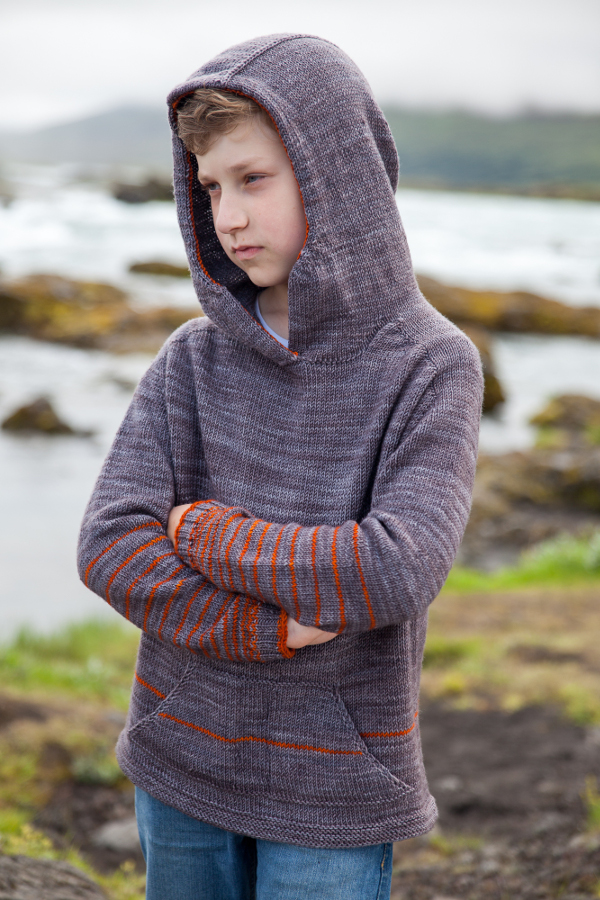
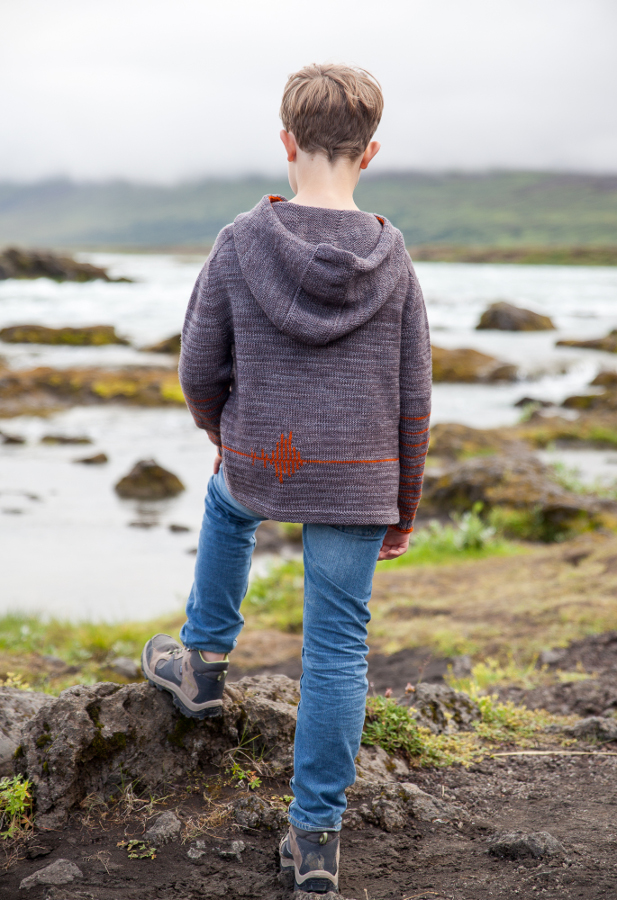
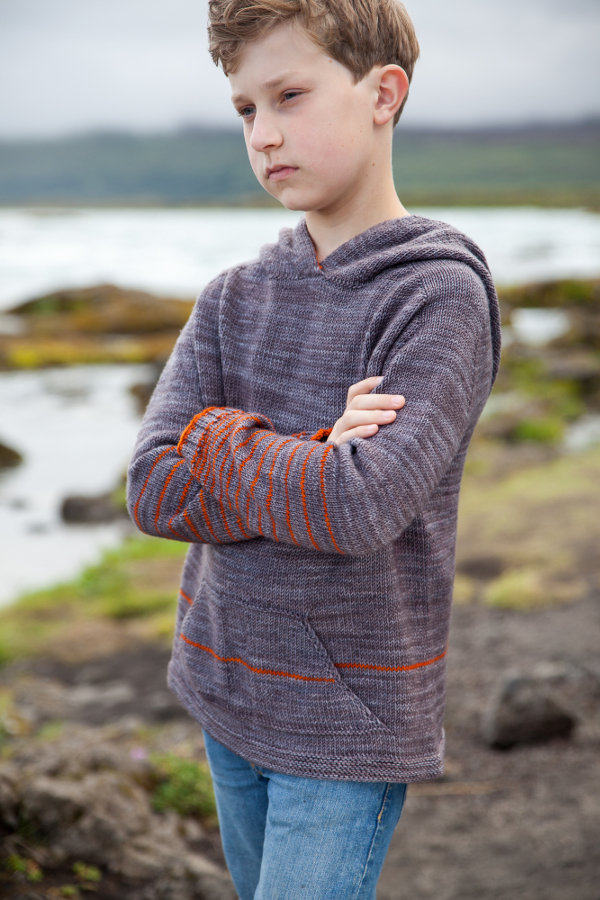
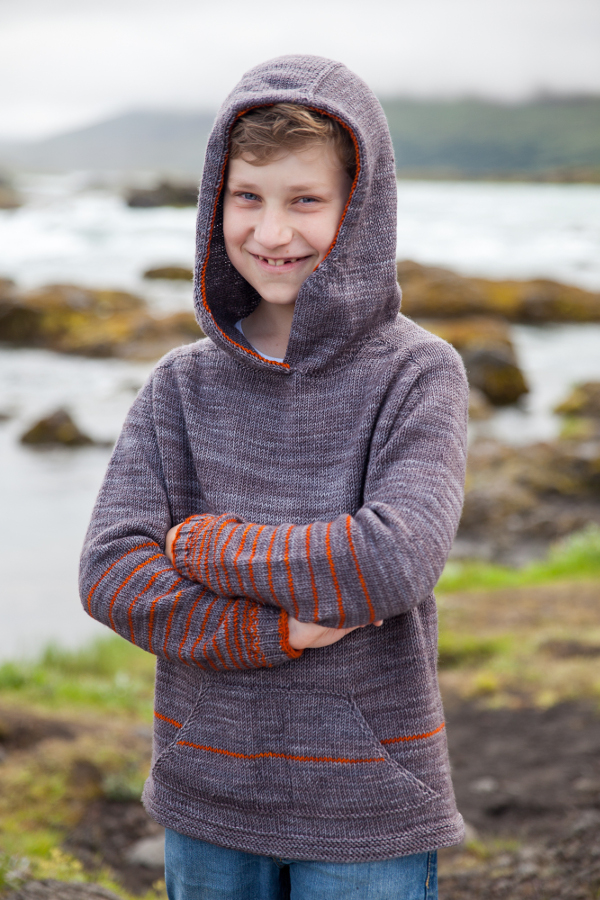
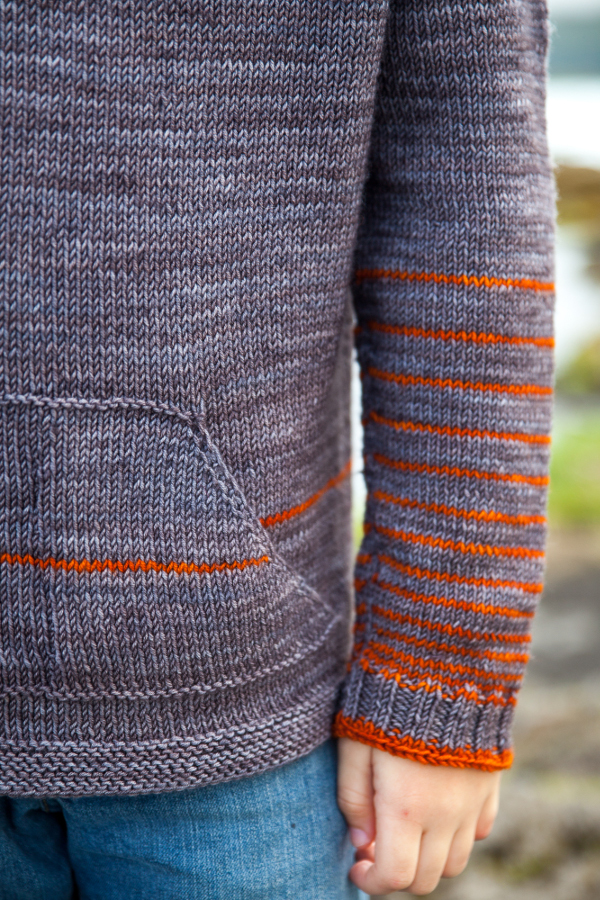
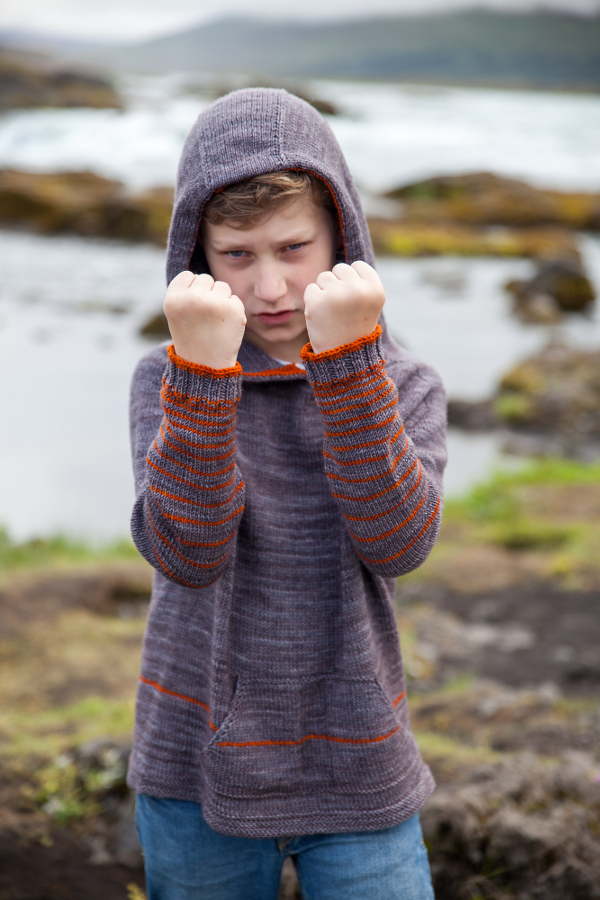
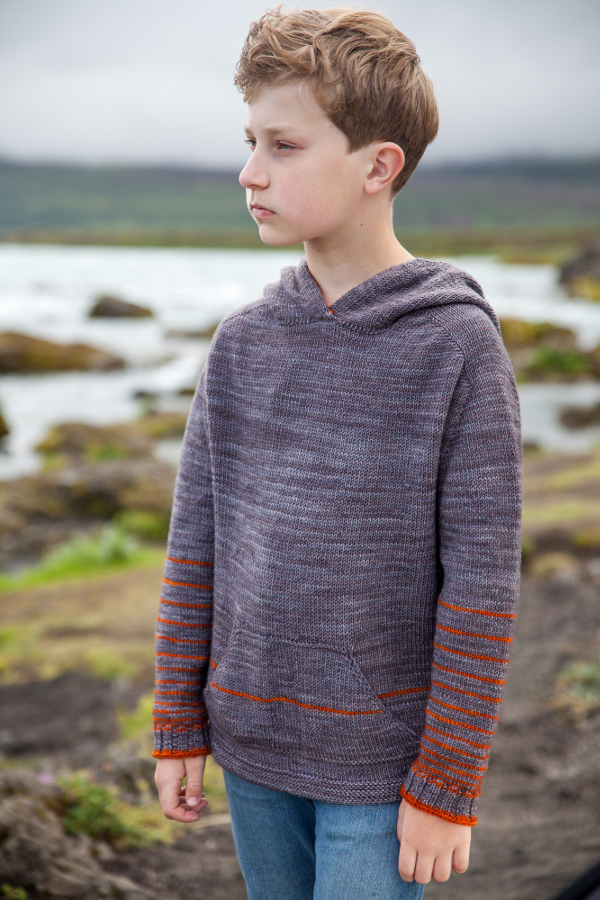
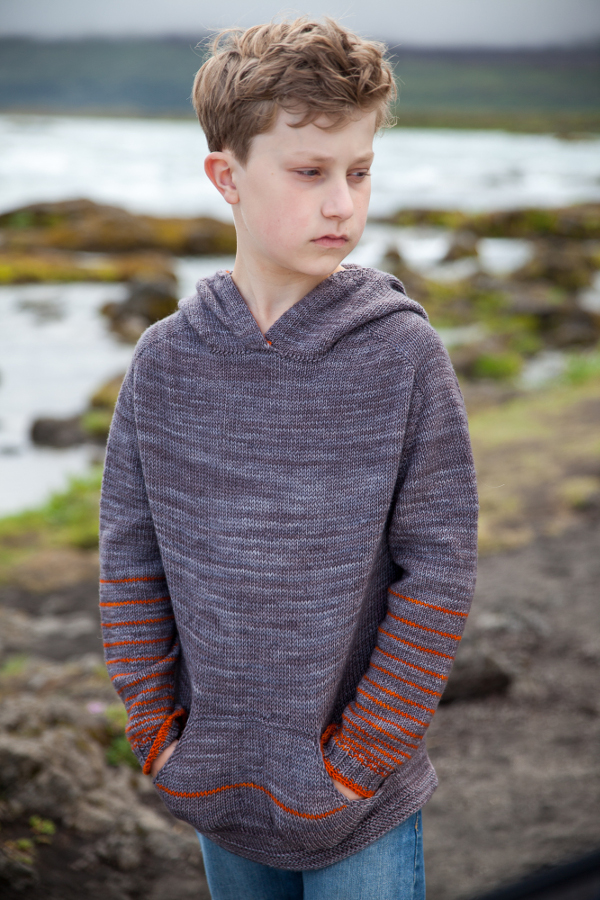
Photo shooting at Godafoss, Iceland for the project Colors of IcelandCe sont les thèmes qui m’ont inspiré pour faire une pièce pour mon ado.

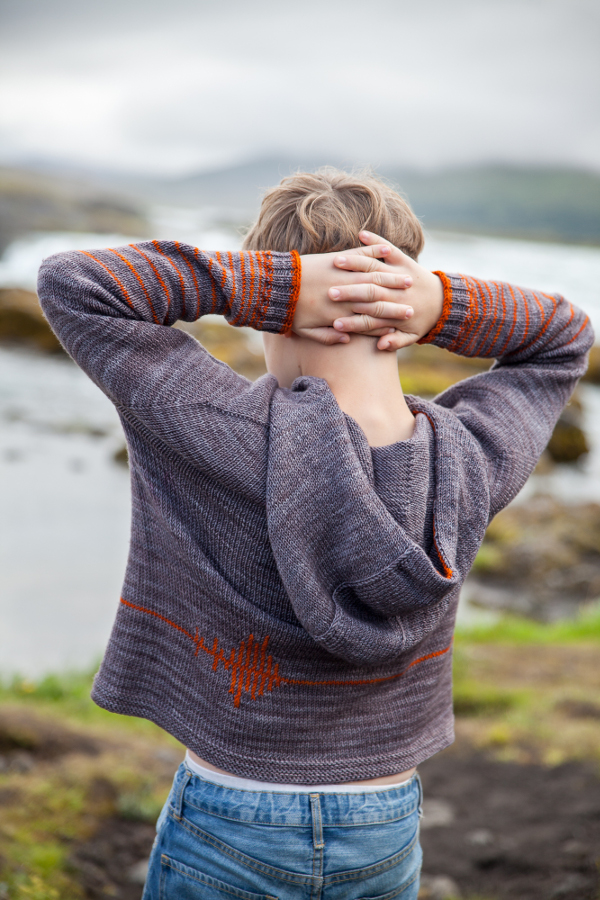
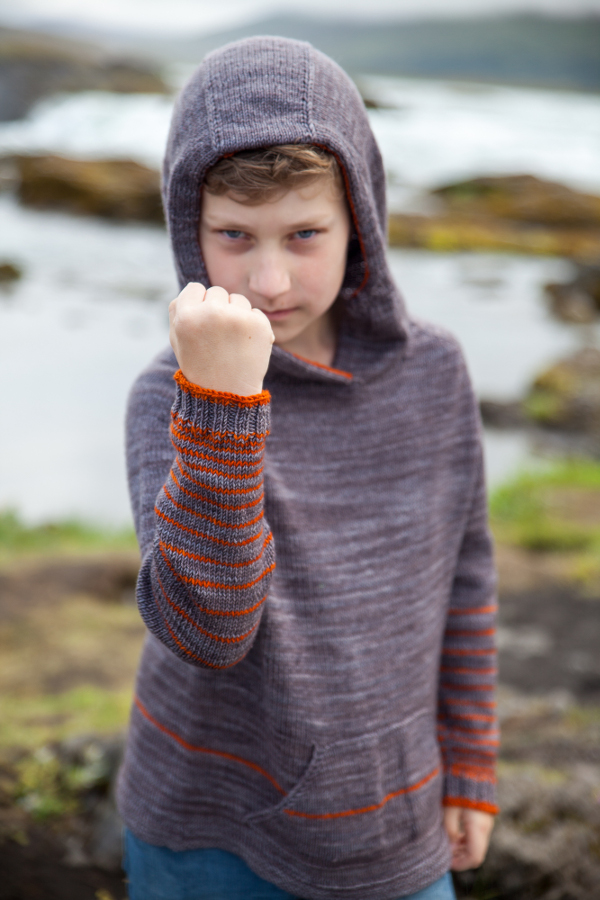
Ici pas grand chose à raconter si ce n’est que la mode ado, c’est sweat et capuche … donc la question n’était pas à se poser : ce serait sweat et capuche.

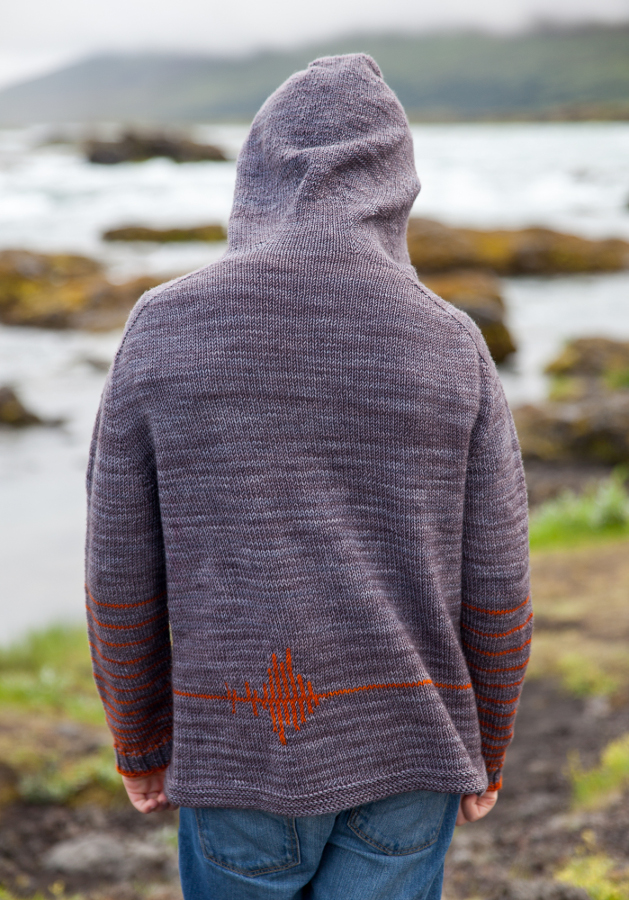
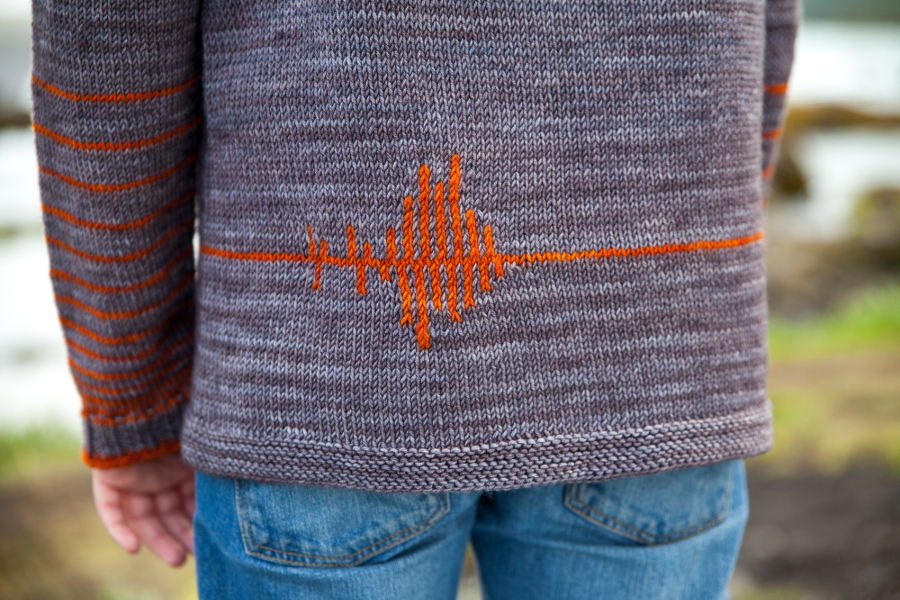
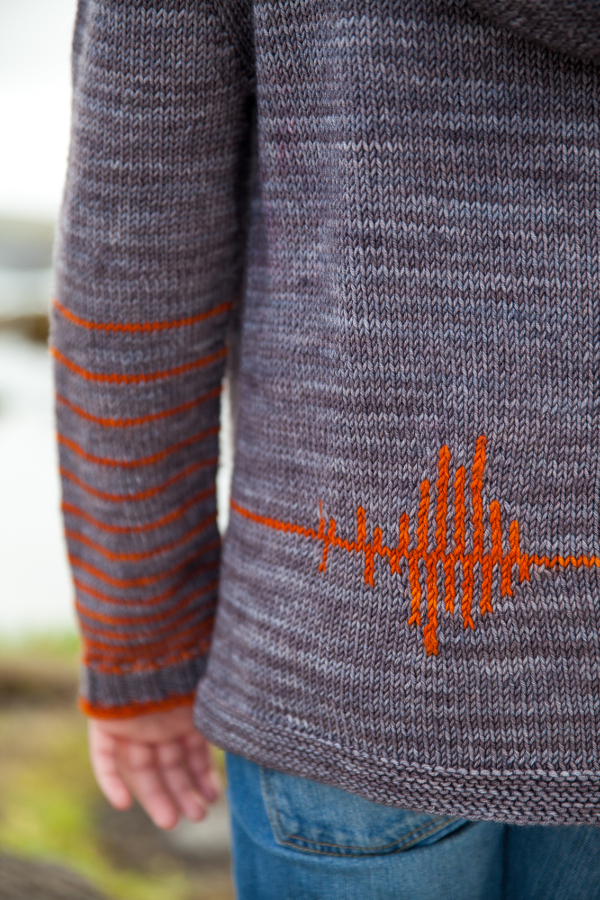
Et pour agrémenter le tout puisque l’Islande est un pays en perpétuel mouvement, quelques ondes sismiques dans le dos et quelques ondes sur les bras.

terre_pt_1 terre_pt

Fire and earth …

These are the themes that have inspired me to do a garment for my teen boy.

There’s no much to say except that fashion for teen is simple: hoodie and it’s all … so I had to design a hoodie.

And to add a little touch of fun to this hoodie and because Iceland is a country in a constant movement, some seismic waves in the back and on the arms.

Photo shooting at Godafoss, Iceland for the project Colors of Iceland Photo shooting at Godafoss, Iceland for the project Colors of Iceland Photo shooting at Godafoss, Iceland for the project Colors of Iceland Photo shooting at Godafoss, Iceland for the project Colors of Iceland Photo shooting at Godafoss, Iceland for the project Colors of Iceland Photo shooting at Godafoss, Iceland for the project Colors of Iceland Photo shooting at Godafoss, Iceland for the project Colors of Iceland Photo shooting at Godafoss, Iceland for the project Colors of Iceland Photo shooting at Godafoss, Iceland for the project Colors of Iceland Photo shooting at Godafoss, Iceland for the project Colors of Iceland Photo shooting at Godafoss, Iceland for the project Colors of Iceland Photo shooting at Godafoss, Iceland for the project Colors of IcelandA suivre un tuto pour pouvoir faire le pull de deux façons à partir de la poche (à plat) ou bien en continuant en rond et en faisant une broderie à l’arrière.

Soon: a tutorial to be able to knit this sweater from the pocket in two ways : in flat or in round.

Vous pouvez trouver le patron ici / You can find the pattern here:

Et l’ebook ici / And the ebook here:

Rendez-vous sur Hellocoton !

Patience ….

La semaine prochaine sera la semaine de la déferlante des patrons ….

Ce mardi, il y aura celui-ci :

sortie_purple_laine_teasingPrévoyez des aiguilles en suffisance !

Rendez-vous sur Hellocoton !

Lotta’s Lilac Shawl ou le plaisir d’offrir

Tout comme il y a deux ans, j’ai participé au Swap anniversaire Tricot and Co.
J’ai hésité longtemps avant de me dire que je participerais car comme vous avez pu le voir récemment, j’ai eu (et j’ai toujours) un agenda assez serré.
lotte_lilac_sabine_1

Néanmoins, j’ai décidé cette fois de me laisser tenter. Et quelle joie de constater que celle que j’allais swapper était elle.

C’est là que le stress vous prend. Car même si c’est un sérieux avantage de connaître son univers, il n’empêche que c’est aussi stressant de faire un cadeau pour quelqu’un avec lequel on a déjà échangé de nombreuses fois.

La pièce, c’était facile, je savais que j’allais faire un châle.
La couleur ? quelle question !! Car nous avons beaucoup de goûts en commun donc je pouvais choisir quasi les yeux fermés un écheveau dans mes boîtes à trésor.

Le modèle ? Là, c’est déjà plus difficile …. car je sais qu’elle aime les châles enveloppants mais la consigne, c’était pas plus de 100g de laine. 100g de laine, ça veut dire 400 m de laine fingering. Pas assez pour faire un châle suffisamment enveloppant.

Donc je devais m’orienter vers de la dentelle. Oui mais quel modèle ? Pfff, il y a pléthore de châles en dentelle !!!

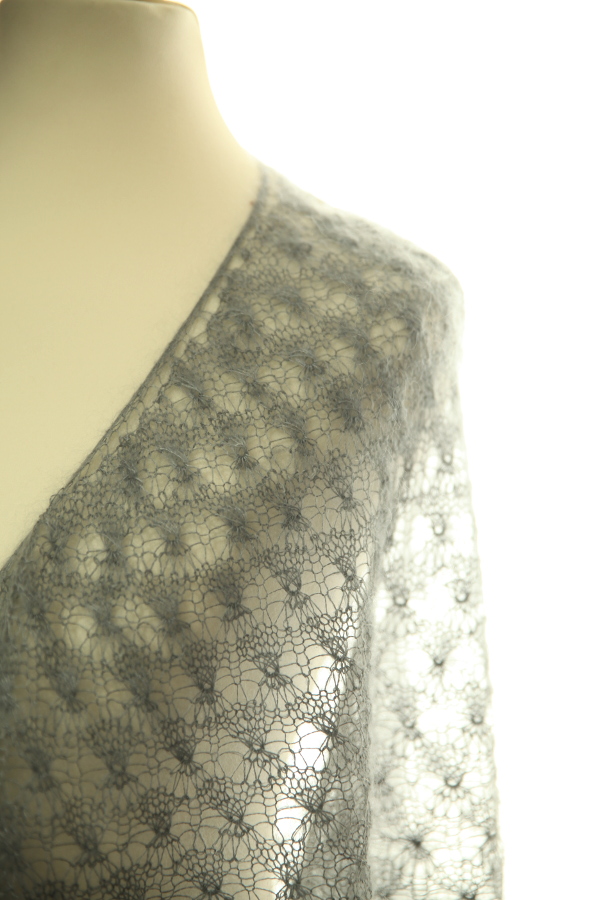
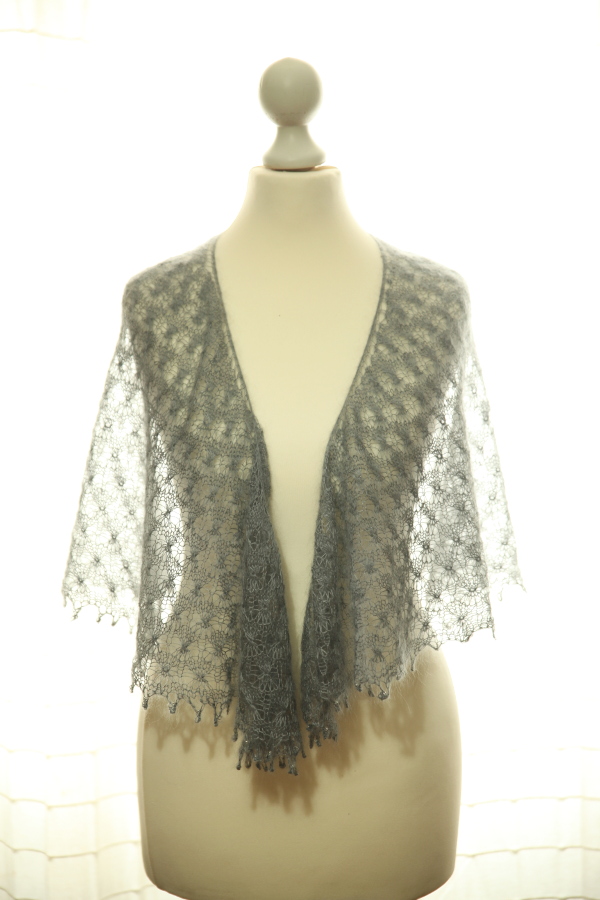
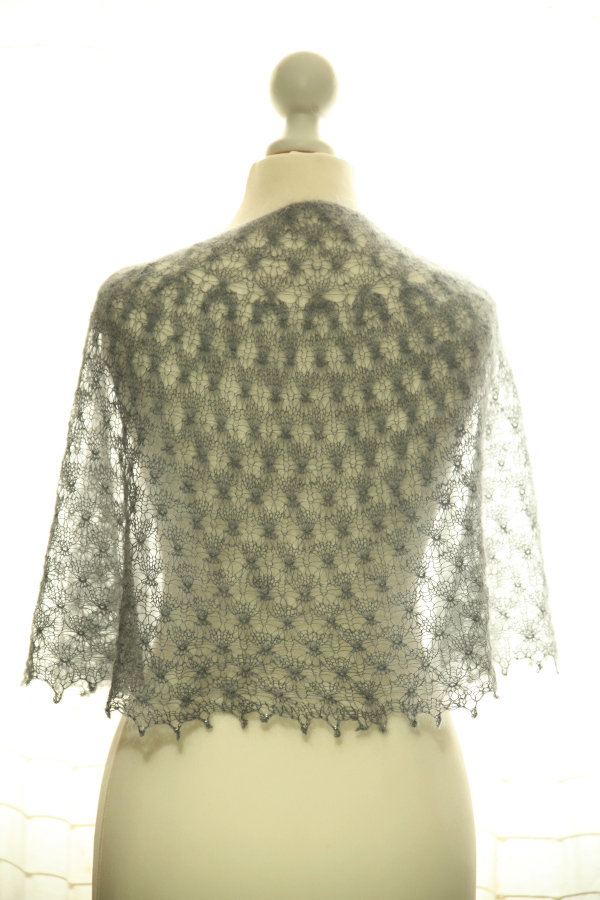
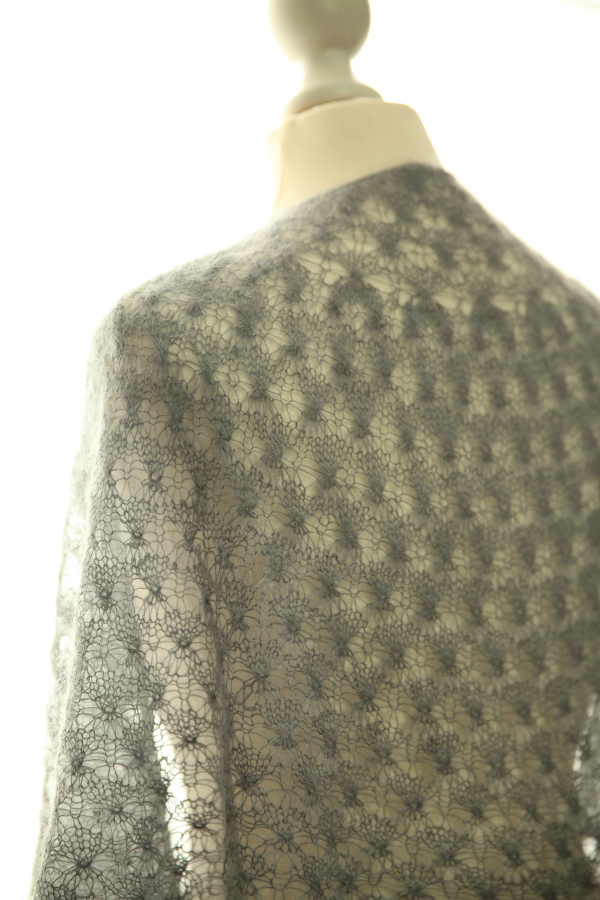
Et puis, en cherchant, en musardant, je me suis rappelée d’un châle aérien, tout en légèreté qui pourrait tout à fait convenir à de la mohair et soie qui attendait son heure dans mon stock de laine dentelle.

J’ai pensé d’abord faire une bordure contrastante et tout compte fait, j’ai préféré faire le châle en uni mais en ajoutant quelques perles au moment du rabattage.

lotte_lilac_sabine  lotte_lilac_sabine_2 lotte_lilac_sabine_3J’ai pris beaucoup de plaisir à tricoter ce châle, non seulement parce que je connaissais la destinataire mais aussi parce que malgré son aspect complexe, ce châle est assez simple à faire. Les motifs sont répétitifs sans être ennuyants parce qu’il faut garder une certaine attention lorsque l’on crée les petites feuilles.

Le tout donne un châle tout en finesse pesant seulement 39g.

Rendez-vous sur Hellocoton !